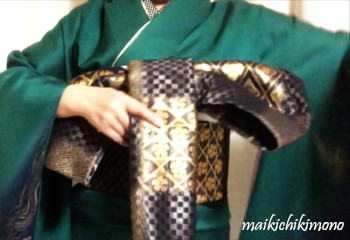
How to tie ougibunko
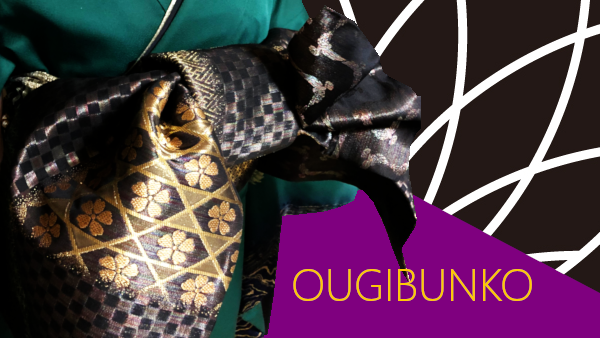
The next step is how to tie ougibunko by yourself. It looks like a big bow with a folding fan.
Maybe it’s tough for beginners, so please watch the video below first.
Later, check the important points.
Let’s begin!
Here is the video.
Preparation
Prepare fukuro obi and accessories.
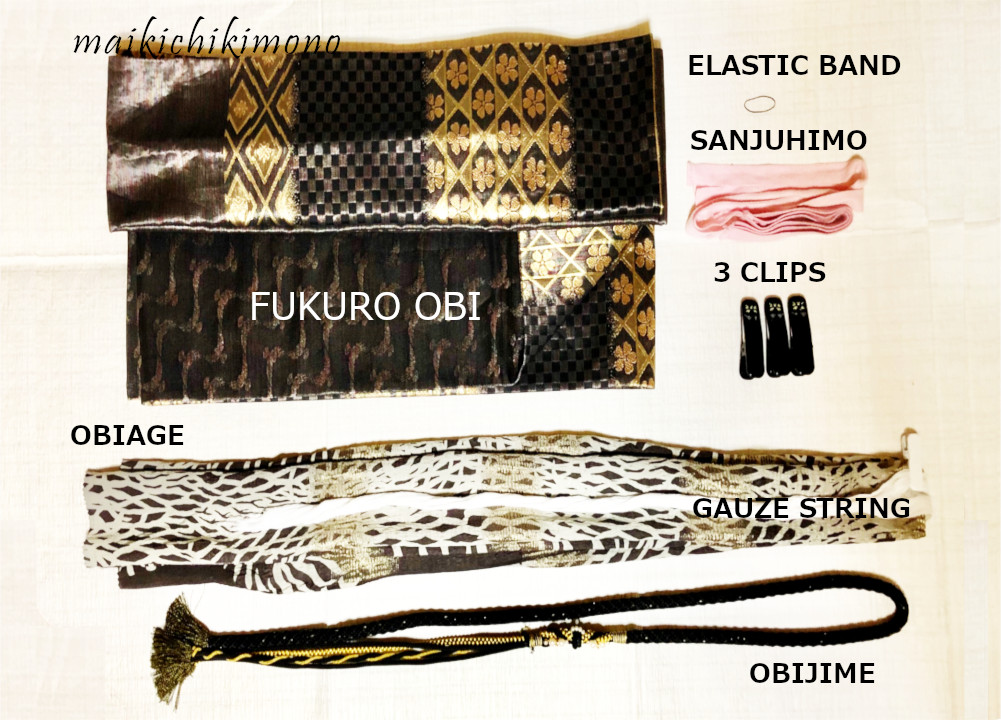
Set obi and the accessories as shown in the picture below.
How to tie ougibunko
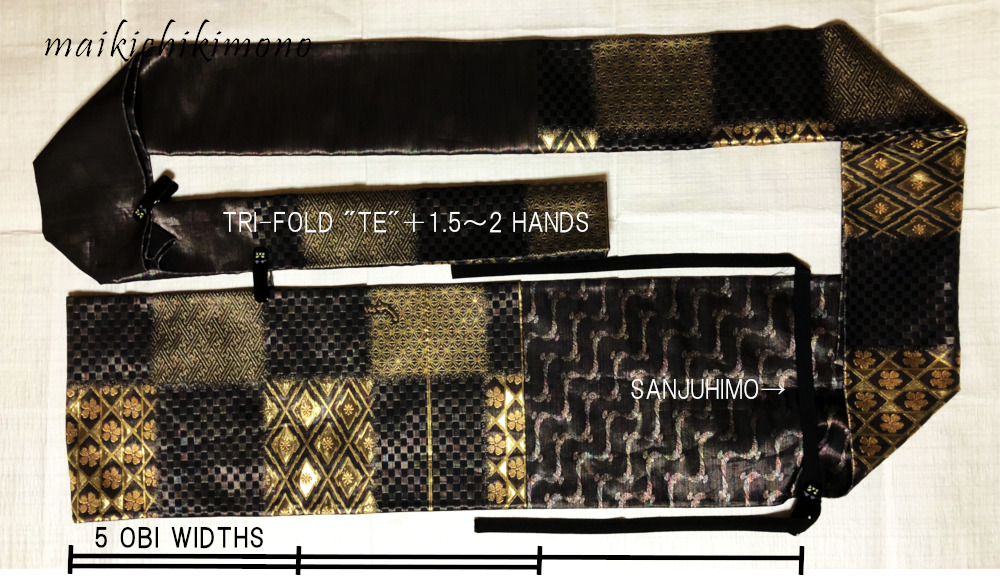
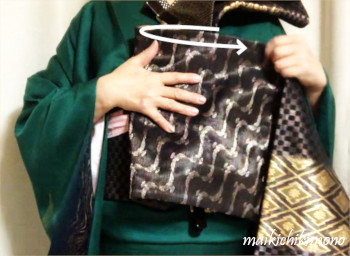
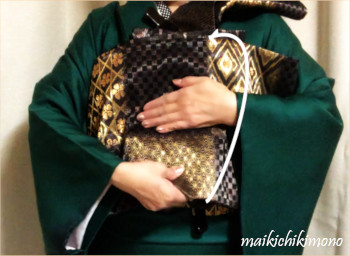
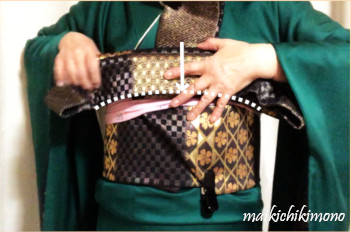
Wrap obi and tuck the plain part of te
- Pinch obi and obi-ita with a clip and wrap obi once.
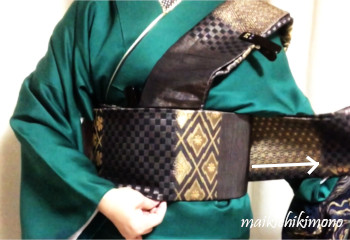
2. Wrap obi again and tighten it.

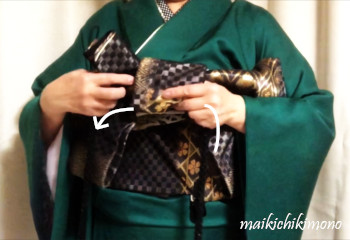
3. Tuck the plain part of te.
4. Put it between the first and second turns so that the plain part is not visible after tying.
5. View after putting in.
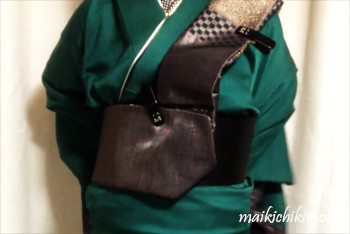
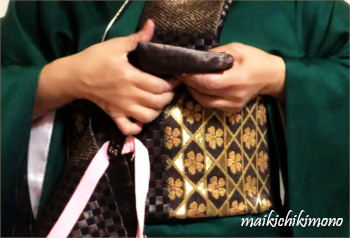
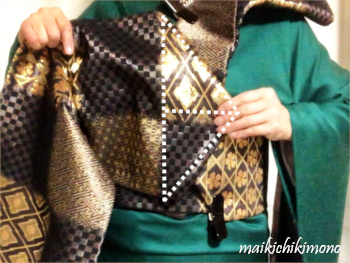
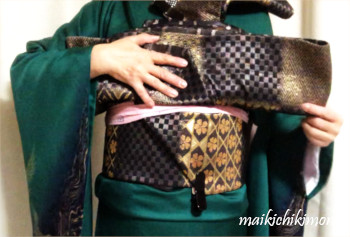
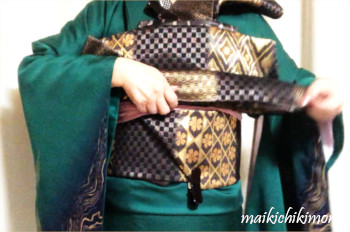
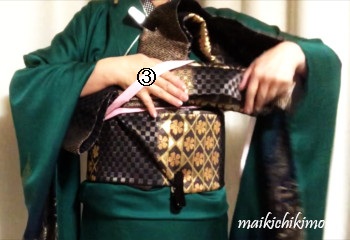
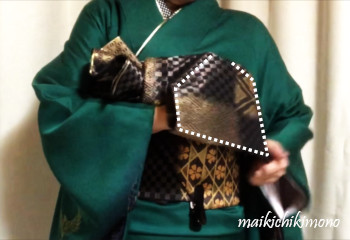
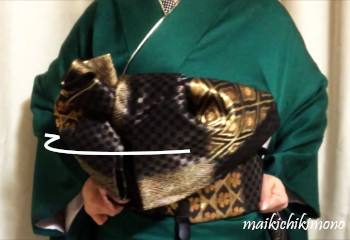
Fold the obi inward to make a fake knot
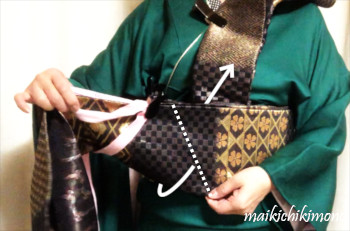
6. Fold it up along the doted line like turning it over.

7. The view after folding.
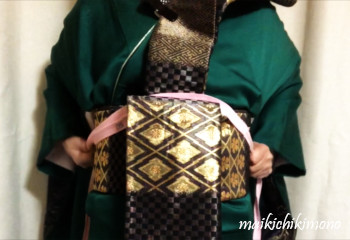
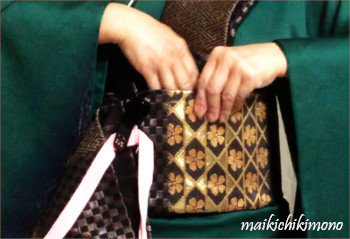
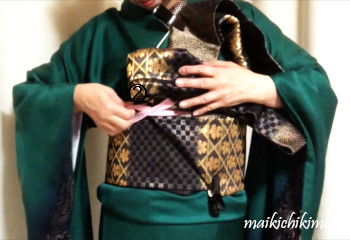
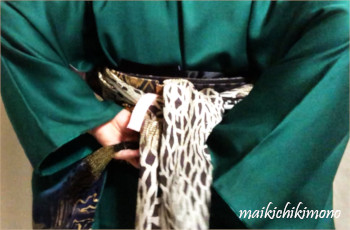
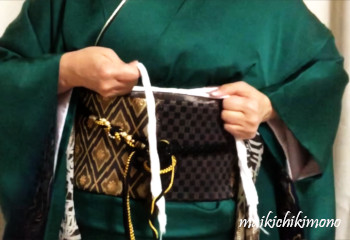
8. Stretch sanjuhimo firmly.
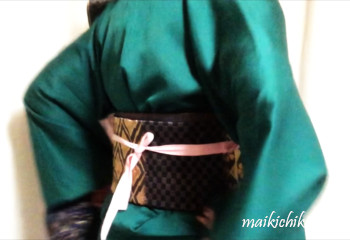
9. Then, temporarily tie sanjuhimo on obi at the back.
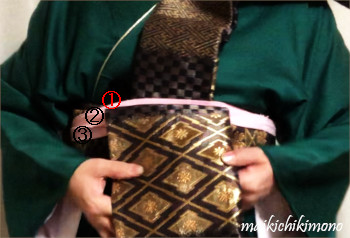
10. Now 1 band of sanjuhimo is on tare and 2 and 3 bands are under tare.
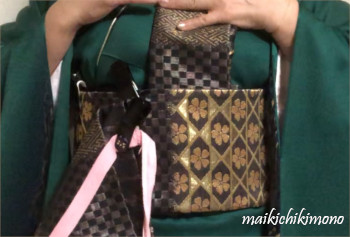
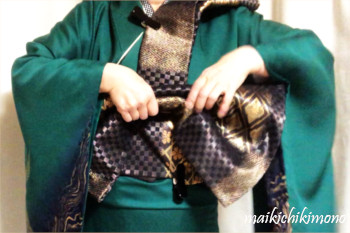
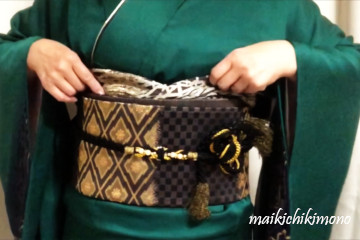
How to fold a big bow
11. Fold the base of the knot into a triangle.
12. Fold it back.
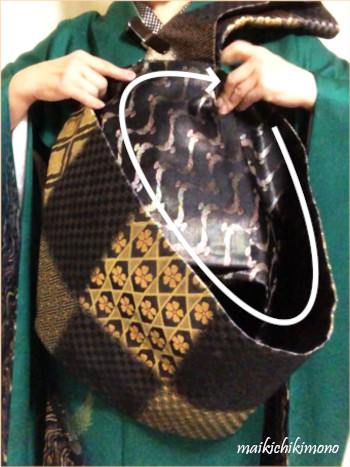
13. Make a circle with the rest of tare.

14. Match the red stars to make a bow.
15. Fold tare as shown in the picture. It becomes a bow.
16. Fold the bow in half in a valley fold. Use your hands like a ruler.
17. The view after folding.
18. Fold the forefront of tare in a mountain fold.
19. Fold the rest of tare in a mountain fold to be a bow.
20. Put the bow on the upper line of obi.
Secure the bow with sanjuhimo
21. Secure the left bow with the 3 band.
22. Take the 2 band and secure the right bow with it.
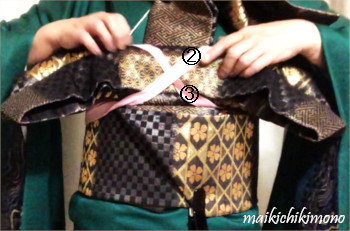
23. The view after securing.
24. Take te off from your shoulder.
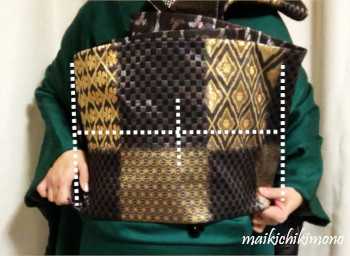
How to make a fan fold
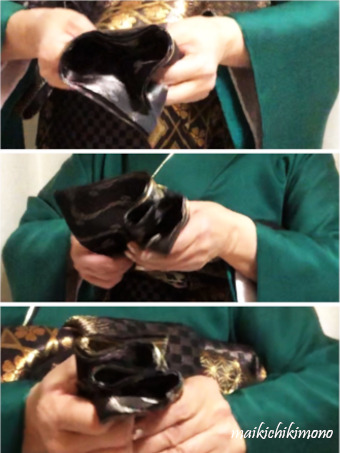
25. Use the tri-fold’s creases. Fold the tesaki into five equal pleats. It is called gomai-ougi, a fan fold with five pleats.
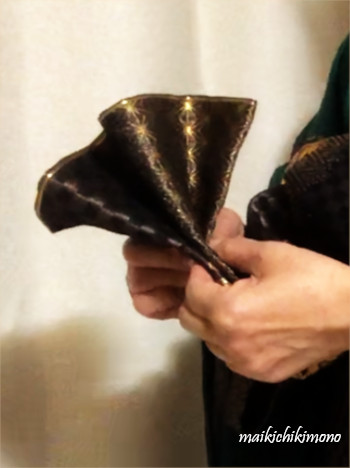
26. The view of the pleats. Secure it with a elastic band.
27. Turn the fan fold inside.
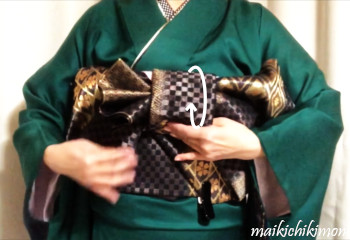
28. Pass obijime through it.
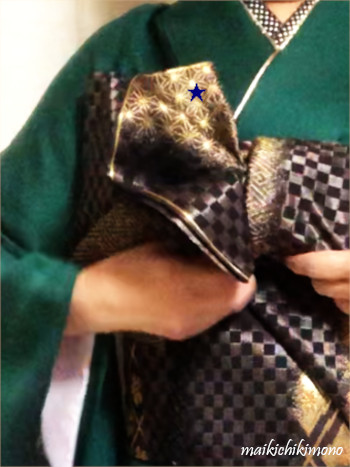
29. The back side of the pleat (blue star) faces you.
30. Temporarily tie sanjuhimo, obiage and obijime at the back. After turning the obi, tie them again firmly.
31. Make a bunko bow.
32. Turn obi 180 degrees clockwise.
33. Tie strings again.
34. Also tie obijime and obiage again.
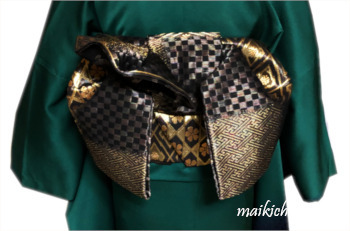
22. Remove clips and finally finished.
I believe you’re so cool!