Put on furisode part 2 : from making ohashori to wrapping datejime

The next step is how to close the collar and make ohashori.
Overlap the collar of kimono and kasane-eri, and then tuck the extra fabric in.
You get some tips and get dressed furisode beautifully.
Please also see How to put on kimono : part 2.
Let’s begin!
Close kasane-eri and the collar of kimono together
At first, straighten the ohashori tuck.
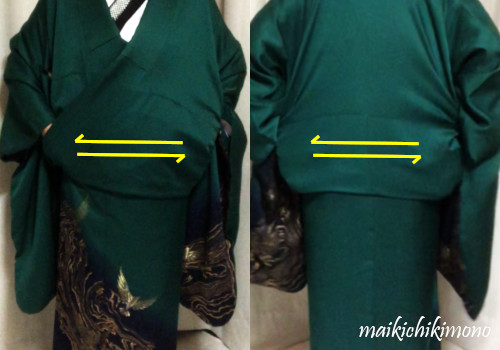
23. Put the hands inside the center of the front and back. Slide the hands from the center to each side to make the tuck line sharp.
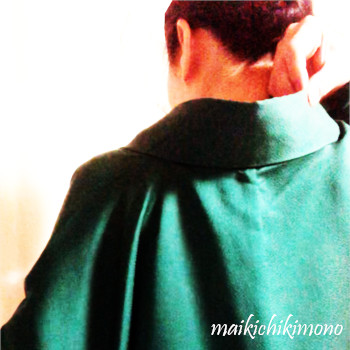
24. At the back, make sure that haneri and kasane-eri don’t come out of the kimono collar.
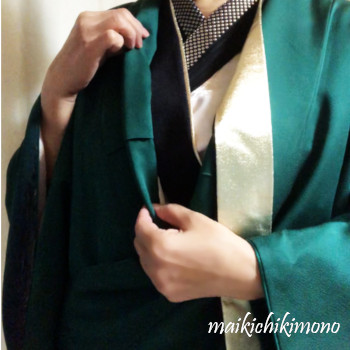
25. Fold the right collar 1/3 inward at kake-eri, a short line.
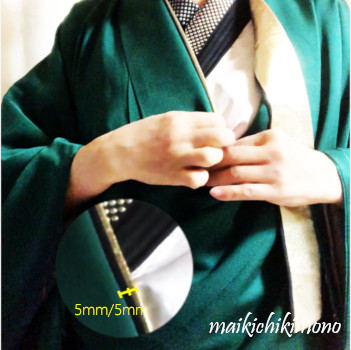
26. Adjust both collars so that the middle color (black) is visible about 5 mm.
27. Straighten the grain line (folded line) with your fingers sliding.
28. Adjust the width of haneri.


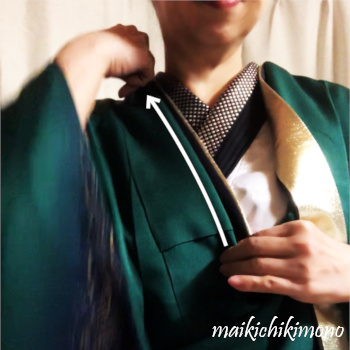
29. Slide the right hand along the collar and stop it under the breasts.

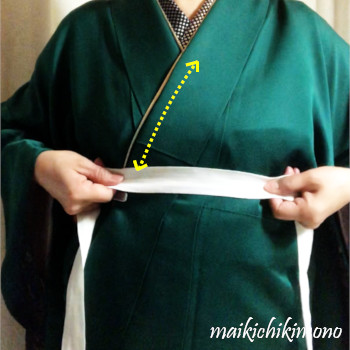
30. Take a kimono belt. Hold the clip of the single belt side.
31. Put into the clip from the left side hole called miyatsuguchi.

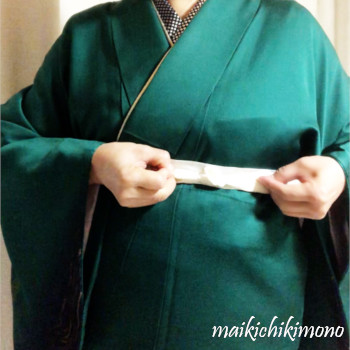
32. Clip the collars together leaving 5 mm between the collar of kimono and kasane-eri at the little finger.
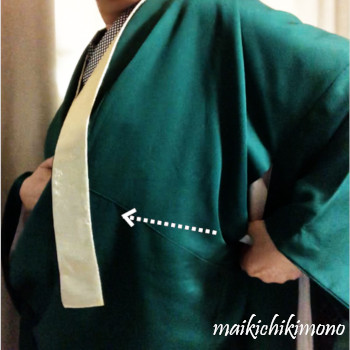
33. Move the clip forward horizontally. Please be sure to keep the collar’s position.

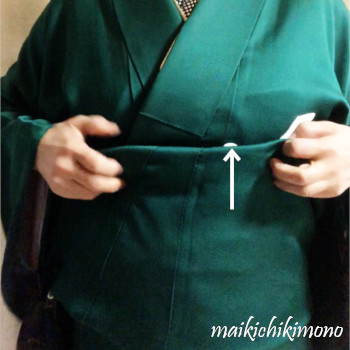
34. Tuck the extra fabric up neatly.
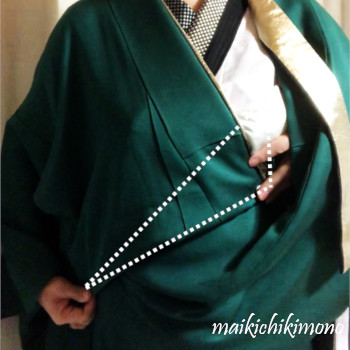
35. View after tucking. You have a triangle on the chest.
This furisode length is longer than my size, so I have to tuck up so much.

36. Bring the clip to the front and temporarily pinch the front body at the same height as the first clipping.
37. Do the same thing for the left collars. Fold the left collar 1/3 inward at kake-eri, a short line, adjust both collars and adjust the width of haneri. (See 28)
38. Straighten the grain line (folded line) with your fingers sliding.
39. Clip both collars at the opposite side as same as the first clipping. Match the front and rear ohashori lines.
Adjust ohashori length
If you have ohashori just your size, go to 46.
If you have too long ohashori, shorten it by tucking up. Here’s an example.
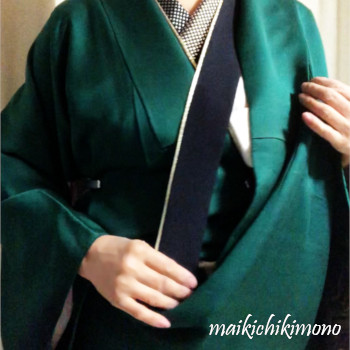
40. Place the center of himo on the center front above the clips.
41. Cross it at the back, bring it to the front and tie a half knot.
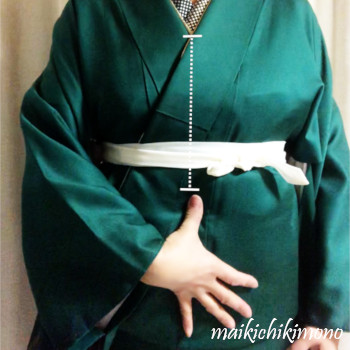
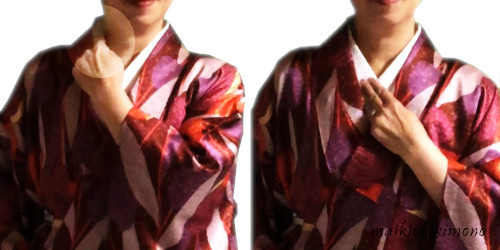
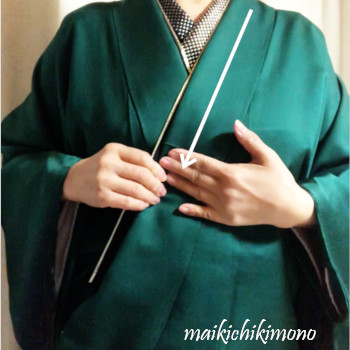
42. Make sure that ohashori length. Basically, two hand-span from the cross point of kimono is ideal.
43. When you shorten it, tuck the top layer of ohashori up.

44. Hold the extra ohashori with the himo.
45-1. Pull out the extra ohashori between the first turn and the second turn of himo.
45-2. Do the same thing for the extra fabric of the back, but you can pull it between the kimono belt and himo.
46. When you tie a traditional datejime, please refer to How to put on nagajuban : one piece.
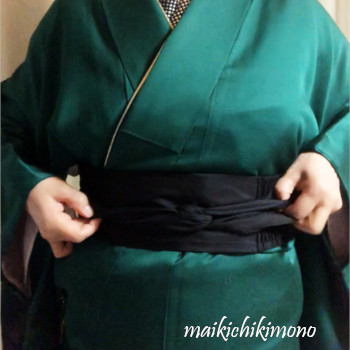
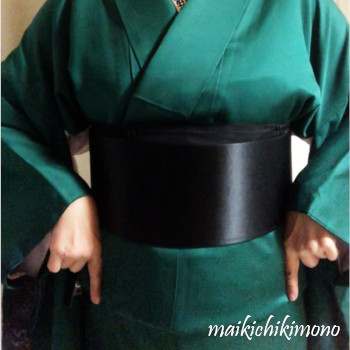
Wrap the obi-ita belt
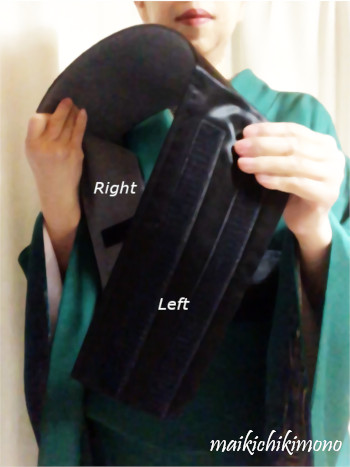
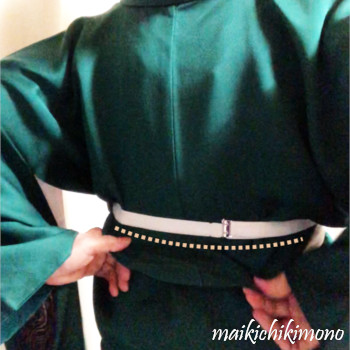
47. Check the position of the belt.
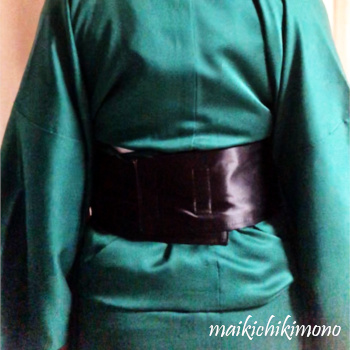
48. Wrap the belt around the waist with the right side up (see from the back). Close both ends with Velcro.
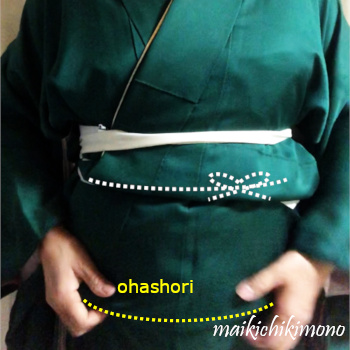
49. Make sure the length of ohashori.
Examples of the ohashori length

Each gives us a different impression.

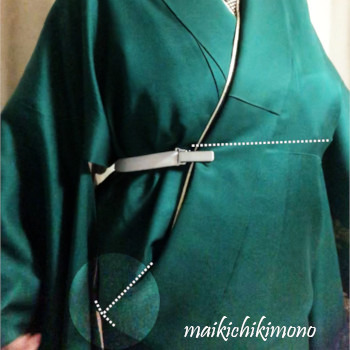
50. Clip where the ohashori bottom lines meet. It’s a good way to keep the lines when turning obi.
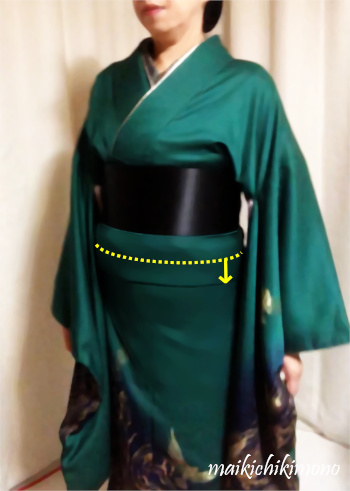
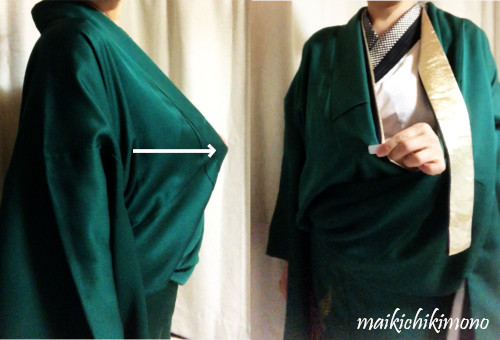
61. Done!
The fabric is a little bulky under obi-ita, but that’s okay. It is hidden by obi. Ohashori below the yellow dotted line should be smooth.
Now, you are ready to tie fukuro obi!
Watch the video below or go to the next page How to tie ougibunko.