How to put on kimono part1 : from putting on kimono to tying koshihimo
Enjoy wearing kimono as one of the fashionable outfits!
In casual situations, you can dress up as you like because of a wide variety of colors and textiles.
Of course, the traditional way of wearing is good, but it’s also good to coordinate with Western clothing accessories like boots, bags and hats…
Have a wonderful kimono life with your free imagination.
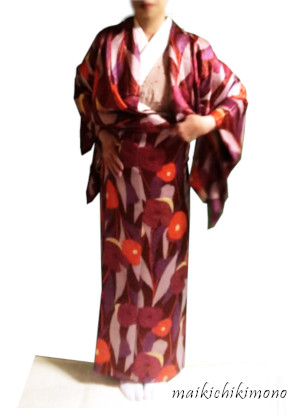
Are you ready? Let’s put on kimono!
How to put on kimono
Learning target
- How to center the back seam
- How to adjust the hem line
- How to tie koshihimo
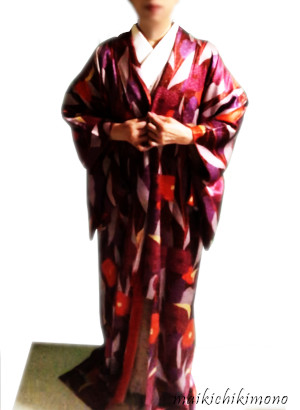
Straighten the fabric grains and put on kimono
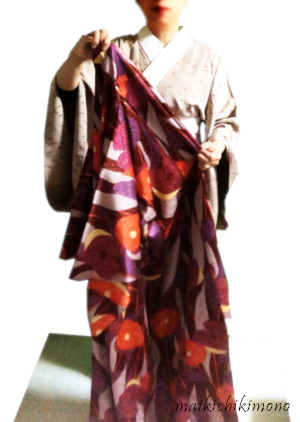
1. Hold the center and the short lines of kake-eri on the collar called kake-erisen.

2. Loosen the collar.
3. Pull the collar to both sides to straighten the grain lines of the collar.

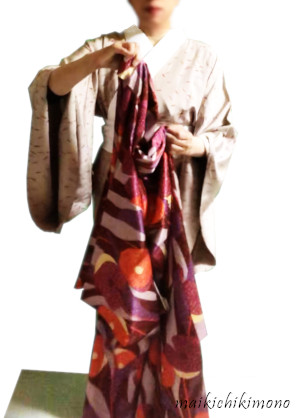
4. Slide your hand slightly toward the hem and hold the collar with one hand.
5. Bring it to the back and open the collar.
6. Put kimono on so that the collar of kimono gently touches the collar of juban.
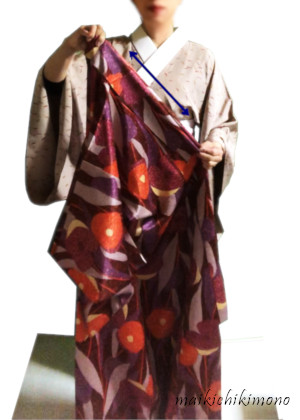
7. Hold a juban sleeve and put your arm through the kimono sleeve. Do the same thing for the opposite side.
8. Match up both sleeves. Do the same thing for the opposite side.
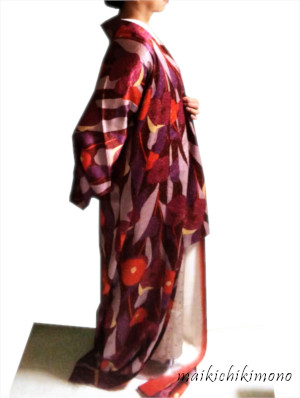
Center the back seam
9. Match kake-erisen to wear kimono symmetrically. If the collar has no lines, hold it equally.
10-1. Hold the collar and back seam, move both hands back and forth to center the back seam.
Please move the hands gently. If not so, the collar could loosen.
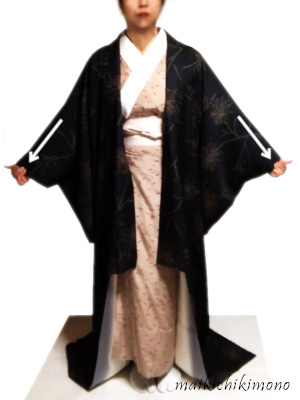
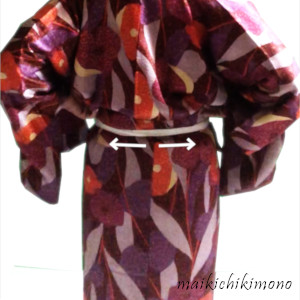
10-2. Show you another way to center the back seam. Pull the cuffs outward at the same time. It looks like a scare crow.
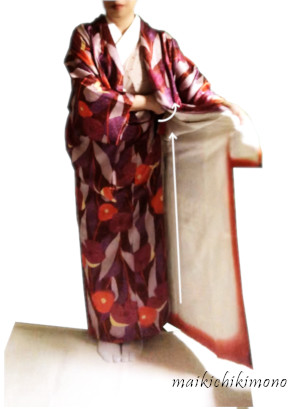
Adjust the kimono length and width
Stand straight and look straight ahead.
11. Slide the hands along the collar and hold the collar about the base of the thigh. It is about 20 cm from the end of the collar called eri-saki.
12. Bring up the skirt part and keep the position of the arms.
13. Slide the skirt part down to adjust the hemline so as to almost touch the floor. Can you see the thin line of the light? That’s good!
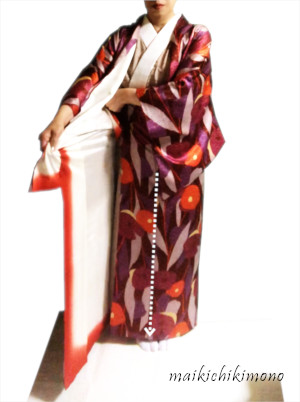
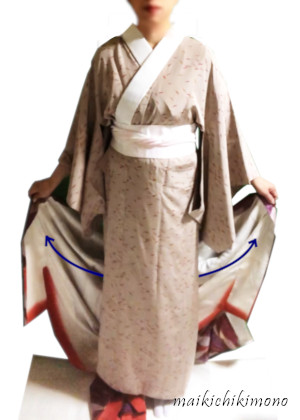
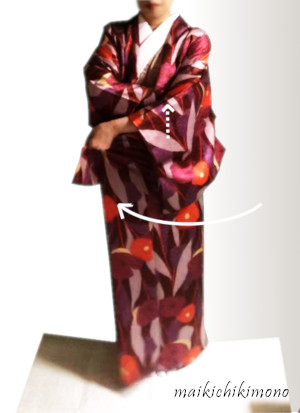
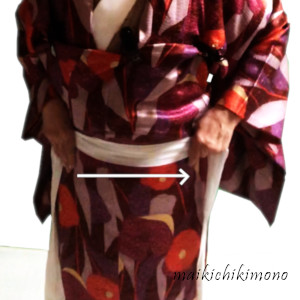
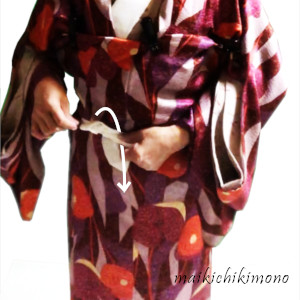
14. While keeping the height and tension of the arms, bring your left hand horizontally to the right hip bone like sweeping the floor.
Put your feet together and make sure okumi-sen (white arrow) is on the split of the right tabi. After adjusting the left skirt part, open it half.
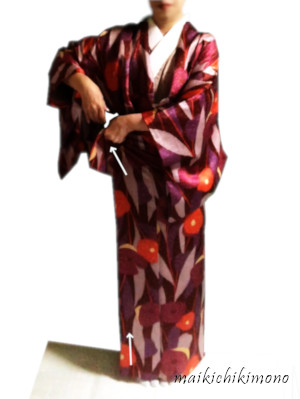
15. Bring the right hand horizontally to the left hip bone while keeping the height and the tension of the arms.
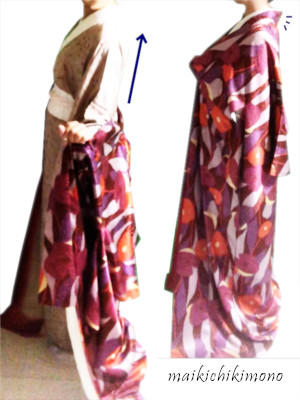
16. Twist the right hand up so as to raise the right corner called tsumasaki.
17. While bringing the left hand to the right hip bone, sandwich the right collar edge on your left side with the left skirt part. Then slide the right hand up a little.
If the right skirt part is wider than your body, fold back the excess. This allows you to walk smoothly.
18. Twist the left hand up so as to raise the left corner called tsumasaki.
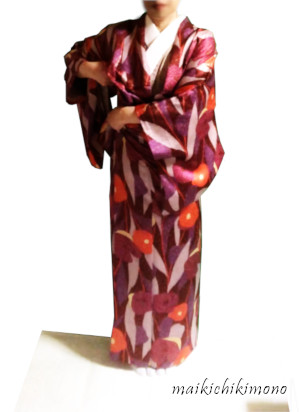
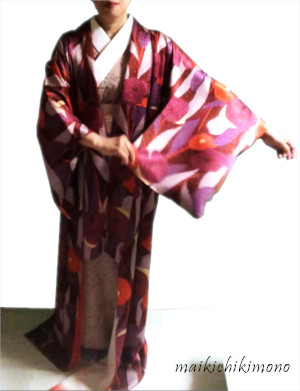
19. Carefully pull out the extra fabric around your waist with the right hand while holding the left skirt part in place.
20. Pull out the extra fabric all. The fabric is often gathered around the waist.
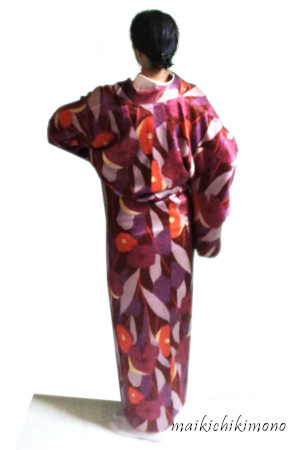
21. Also make the back smooth.
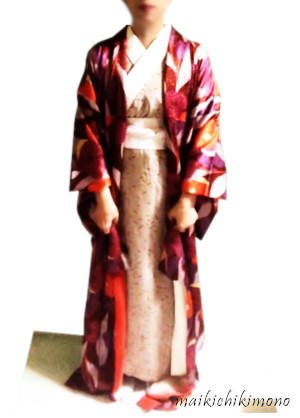
Tie koshihimo
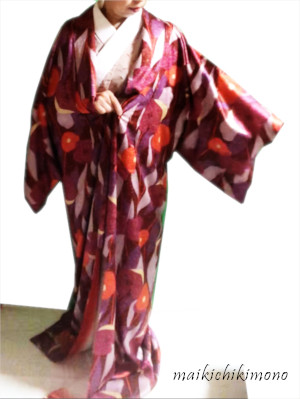
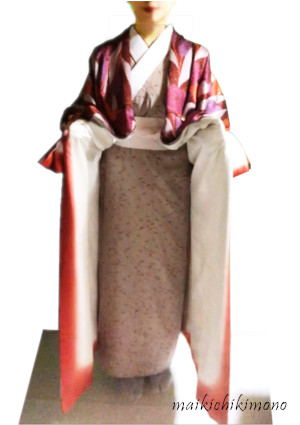
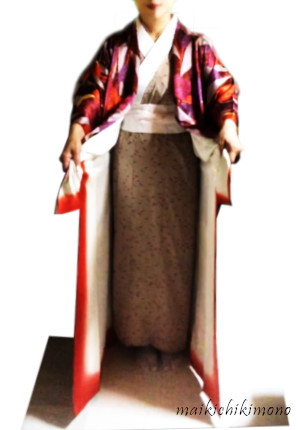
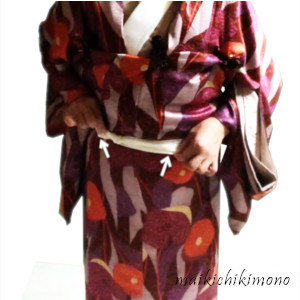
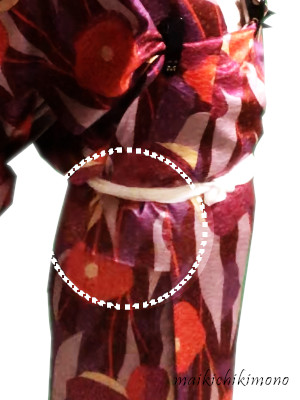
Usually, the waist is hidden by ohashori like the photo below.
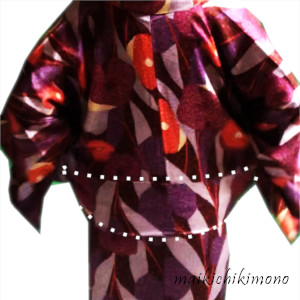
On this stage, kimono around waist is folded to show koshihimo.
22. Take the center of koshihimo and pass it to the right hand.
23. Slide koshihimo to the left side around hip bone. Set koshihimo on your favorite position between the belly button and the hip bone.
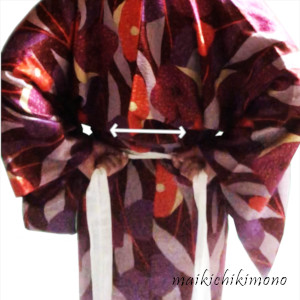
24. Cross koshihimo at the hollow of the back. Hold it shortly and pull it horizontally.
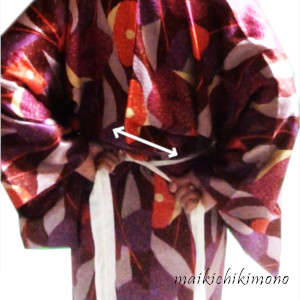
25. Pull it again diagonally.
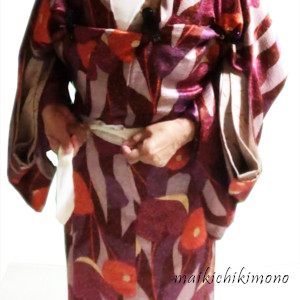
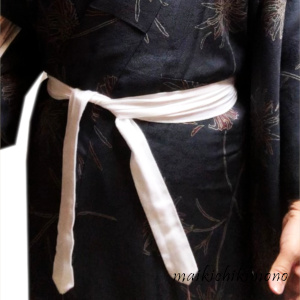
26. Bring the ends to the front and tie once.
27. Pass one end between your body and koshihimo.
By doing so, the knot does not loosen even if you get the hands off. See the photo below.
Go on.
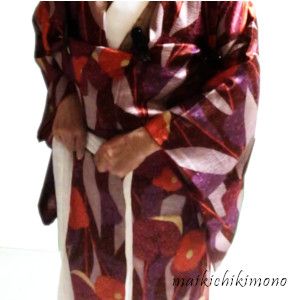
28. Tie a half bow knot and tuck the ends in.
29. Remove wrinkles around koshihimo.
30. Make sure that the left end of the collar is firmly held by koshihimo.
This is the end of Part 1.
Part 2 starts with making ohashori.
Hang in there!