How to tie tsunodashi

The next step is tying obi.
This time I’m going to show you how to tie tsunodashi without obimakura, a pad for obi.
It is very casual and relatively easy to tie.
You can do it!
Preparation
Things necessary
- Nagoya obi
- Obijime cord
- Obiage cloth
- Obi-ita board
- Himo (karihimo)
- Gauze (30 cm × length of your opened arms)
- Elastic rubber band
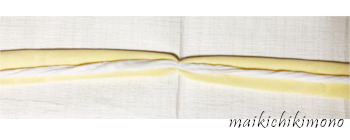
As shown in the picture below, put the obiage and the gauze string together with a rubber band.
Tie obi
Wrap obi and tighten it

1. Take the half-width part called te and put it on your shoulder. The folded edge called wa is facing outward.
2. Wrap obi once.

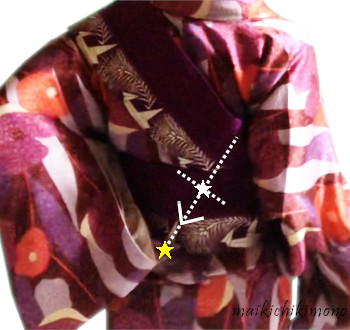
3. Take the diagonal part (white star).
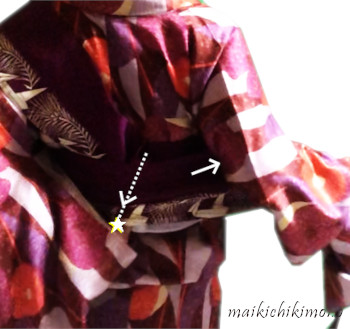
4. Draw it (white star) to the bottom line called obishita-sen (yellow star) and pull the right hand obi forward.
5. Place obiita between the first and second turn.
6. Wrap obi again along the first turn and tighten it.
Make a knot by folding
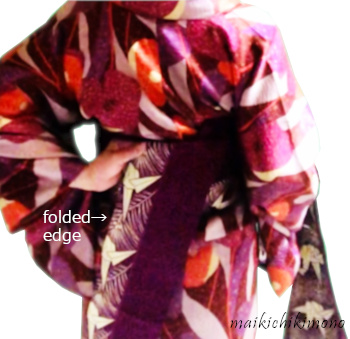
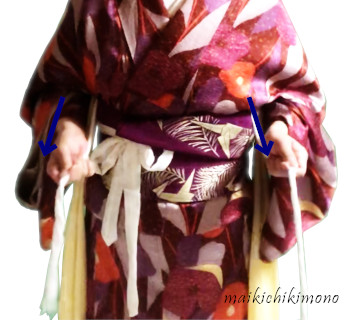
7. Take te off and hold the folded edge.
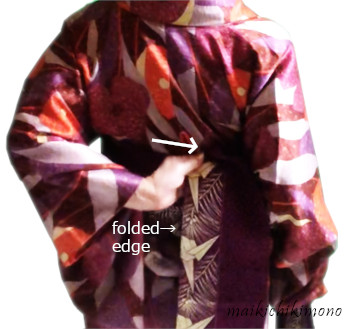
8. Slide it to the right beyond the back center.
9. Slide the left hand down to the bottom line.
10. Slide te to the left a little.
11. While hold the left hand there, tighten the right hand obi.
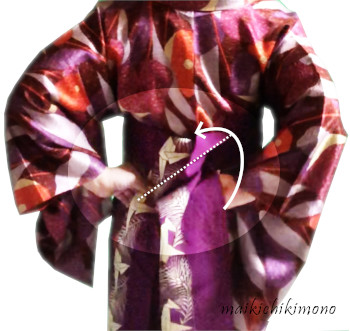
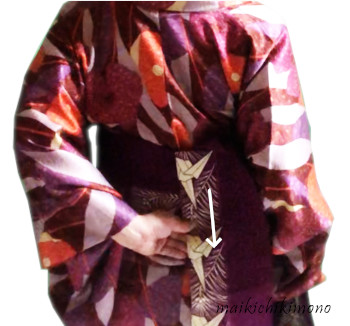
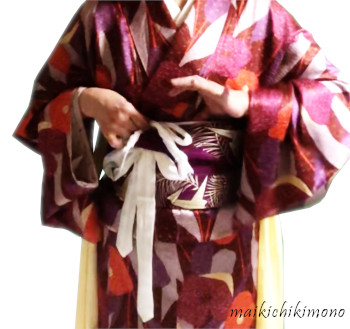
12. Te and tare were crossed. Place your right hand under the cross part while holding your left hand in place. Then fold it up as following the dotted line.
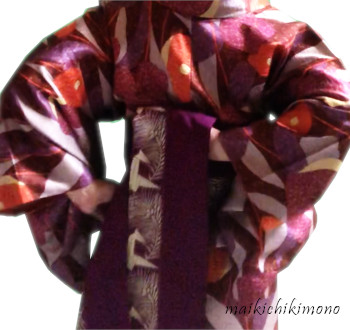
13. View after folding up. Now you have a knot.
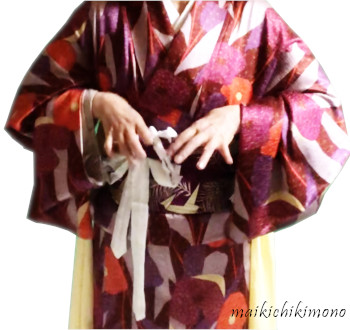
14. Take the center of karihimo.
15. Pass it to the other hand. Secure the folded knot with it.
16. Tie it firmly on obi.
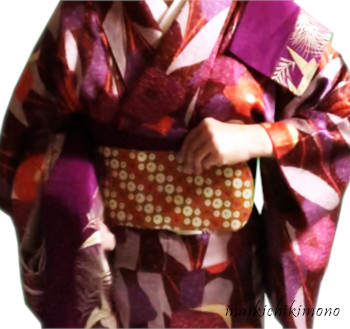
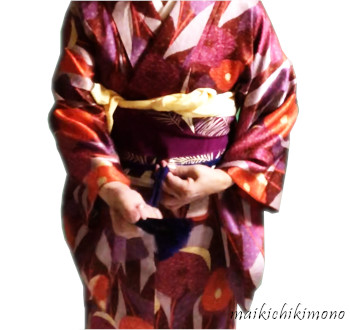
Tuck te at the front
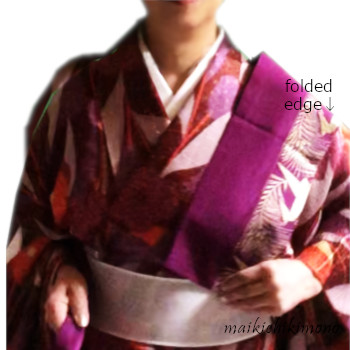
17. Pull te firmly and bring it to the front. Is the end of the half width part called tesaki on your bust top? That’s the ideal position!
If it is short. no problem. Continue as it is.
18. Fold it in half from your side.
19. Tuck it at the front.
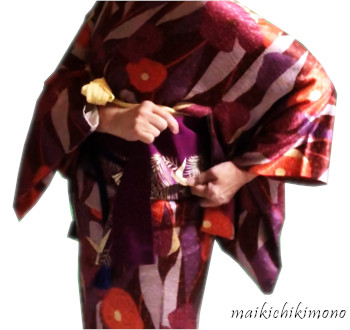
Make otaiko : upper line
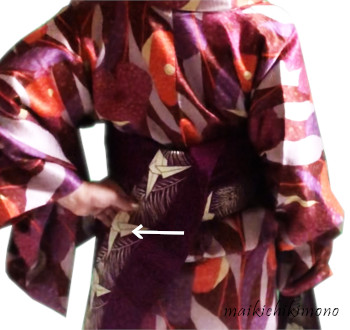
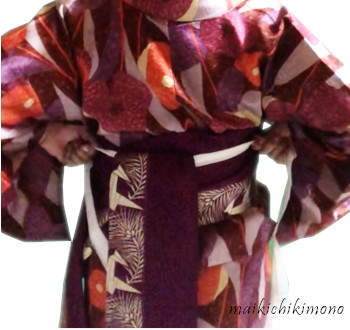
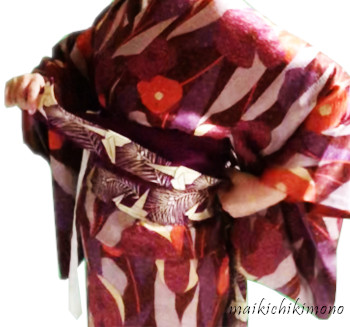
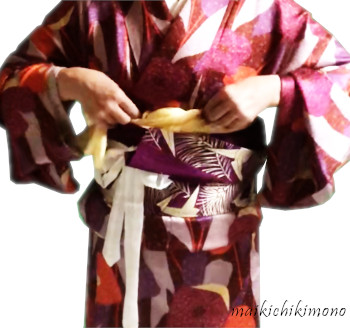
20. Open taremoto close to the knot and fold into a triangle.
21. Fold up the rest of tare as following your hands.
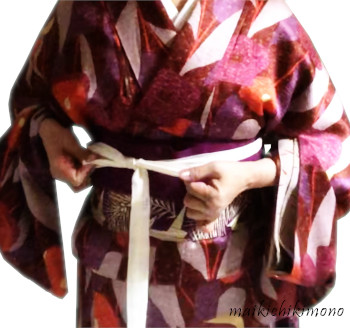
22. Hold the upper line in place and take the center of obiage and gauze string.

23. Put obiage and the gauze string inside tare and pass them to the other hand.
24. Bring it to the front.

25. Hold the gauze string only. Move it up and…
26. …down to fit the strings and the upper line of the obi firmly on your back.
27. Tie the gauze string aside and pull it forward at the center front.
28. Put the knot deeply between obi and datejime.
29. Tie obiage temporarily so as not to bother you, and take away karihimo.
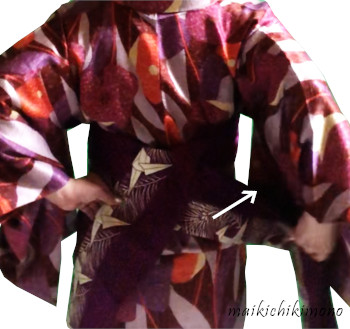
Make otaiko : bottom line
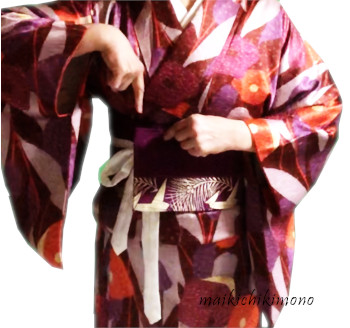
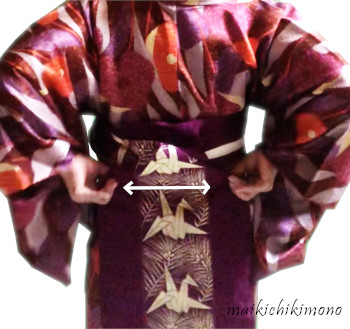
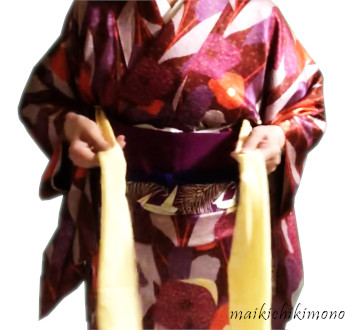
30. Take the center of obijime.

31. Hold obijjime and obi together. The holding position is about 10 cm below the bottom line of obi.
32. Tuck the rest of tare inside.
33. Leave tare or a tail about 10 cm.
34. While holding obi and obijime, slide up both hands to 1/3 from the bottom line.
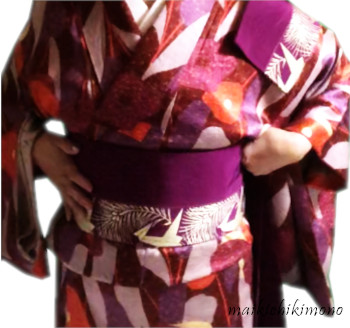
Tie obijime
35. Tie obijime into hon-musubi knot. Please refer to the video below.
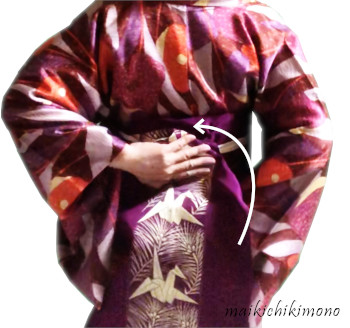
Put te inside otaiko
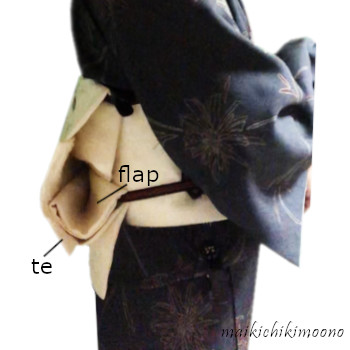
36. After tying obijime, take te off and unfold the side.
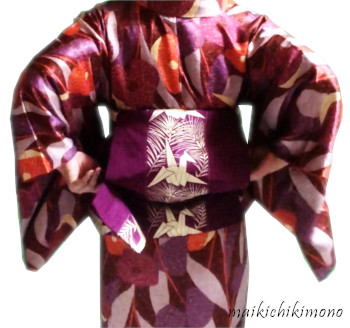
37. View of the back.
38. Fold back te and put it right under otaiko layer.
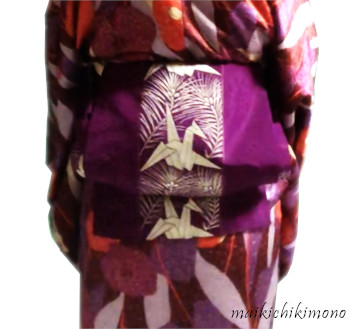
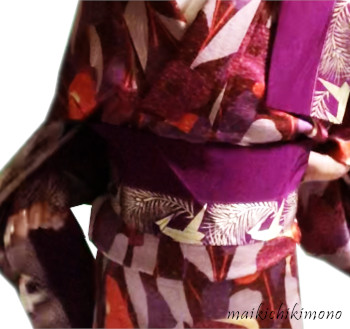
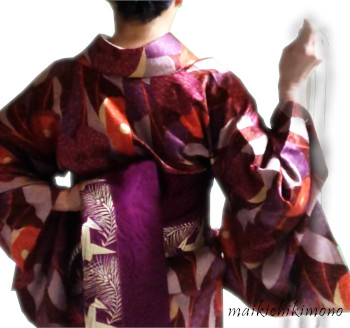
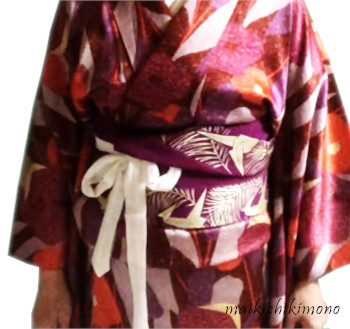
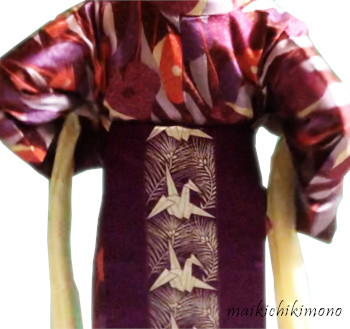
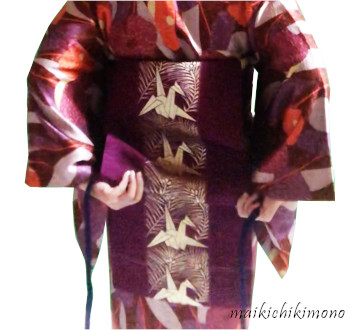
36. This is the standard tsunodashi. Basically te is shown from both sides of otaiko about 5 cm.
37. View of the side.
Tie obiage
38. Tie obiage into hon-musubi. Please refer to the video below.
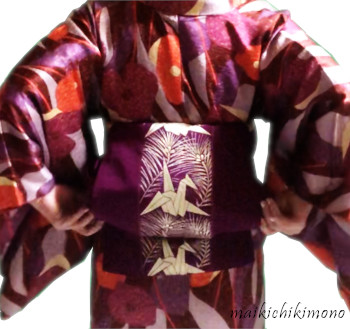
Go on.
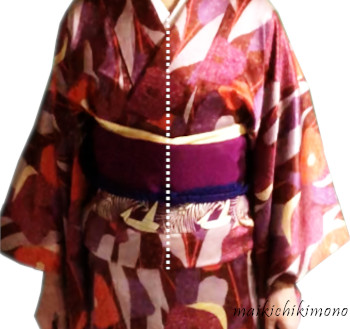
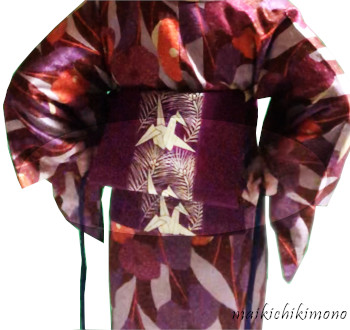
39. Let’s check all. Especially check that the intersection of haneri, obiage and obijime knots are aligned at the front center.
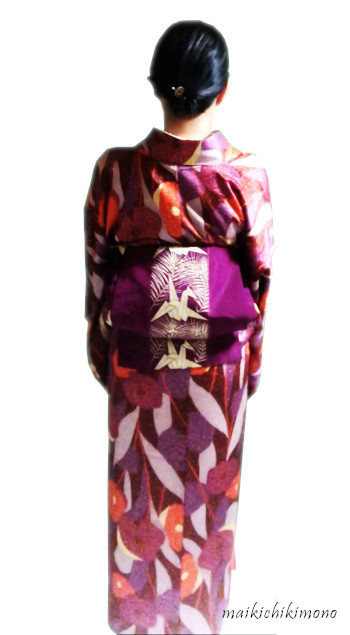
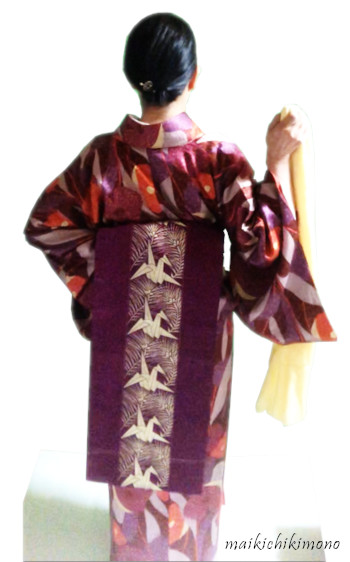
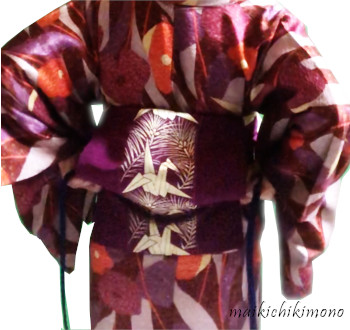
40. View of the back. Basically, set taresaki, the end of tare on the highest line of your butt.
Okay, you did it! Let’s go out!