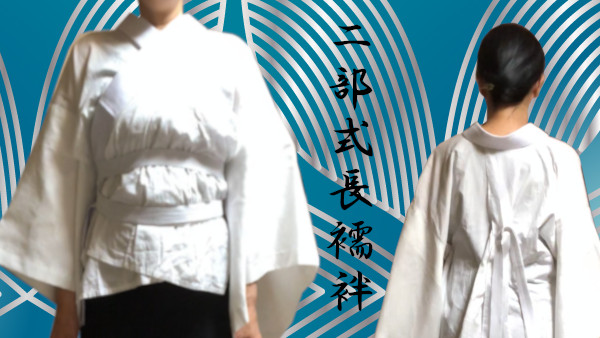
How to put on nibushikinagajuban : two pieces
The more I got used to kimono, the more I wanted to try another juban that suits my lifestyle.
There are two types of juban, a long one and separated one.
My favorite is the two-piece nagajuban. In Japanese, it is called nibushikinagajuban. Nibushiki means two pieces.
I wear this juban quite often. I would like to talk about how useful it is. Use this as one reference of your choice.
Two-piece nagajuban is very useful
Once I started wearing the two-piece nagajuban, I didn’t want to wear other juban. Finally my one-piece nagajuban was stored in a closet.
Here are some reasons why I chose it.
a. Washable
You can wash it every time after wearing because it is made of the cotton and polyester.
My juban can be washed only the body part because its collar is detachable.
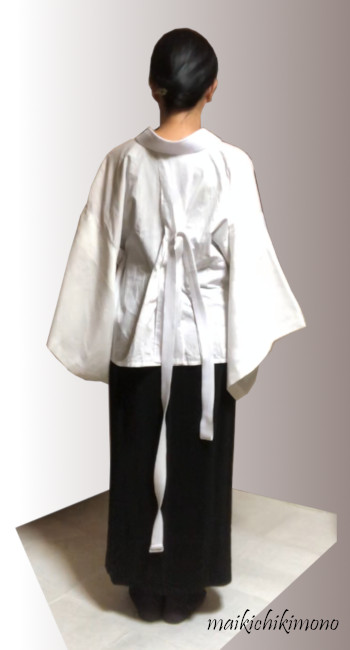
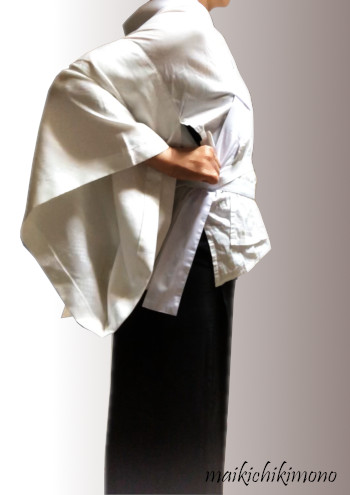
b. An extended collar and long emon-nuki
It is so easy to straighten the collar.
c. Use of a stretchable belt
You don’t have to use datejime and himo. You can put it on quickly.
You can make emon quickly and keep it neat because of b and c.
d. Divided two parts
You can make a minor adjustment to the length of the skirt part.
You can wear only the upper part as han-juban. It’s easy to move your body and good for hot days.
There is a negative point but it is a little thing.
a. The hemline of the upper wear being visible slightly
When you wear a thin kimono, its hemline can be seen, so fold the hem up to ohashori line.
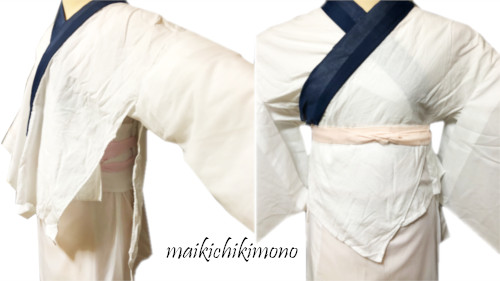
How to put on a two-piece nagajuban
White undergarments are mainly for a formal and light colored kimono, and black ones are for a casual and dark colored kimono.
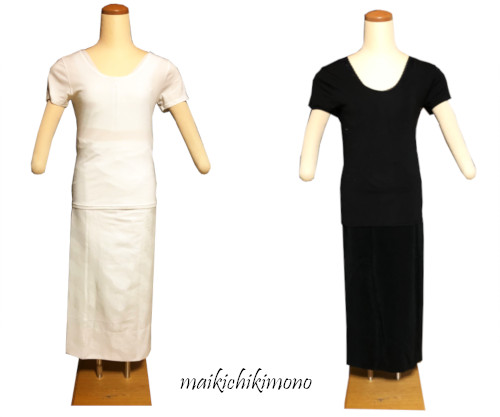
I usually wear a skin-friendly upper underwear but I don’t wear any hadajuban and padding.
The reason why I selected these items is that I can put on quickly and take care easily.
It is easy for me to move and wash. I can also correct my lower abdomen with the waist part of nibushiki-nagajuban.
How to put on the skirt part of nibushiki-nagajuban is the same as susoyoke, an underskirt but only the length is different. In case of the skirt part, set the hemline around the ankle.
Please refer to Underwear for kimono.
How to put on the upper wear of nibushiki-nagajuban with a belt
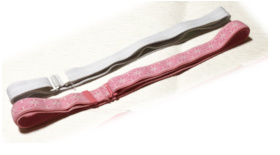
If you use a belt, choose soft rubber. It is called a waist belt. The belt has a loop side and hook side.
If you want to use himo, please refer to How to put on nagajuban : one piece / Tie munahimo with emon-nuki because the way of tying is in common.
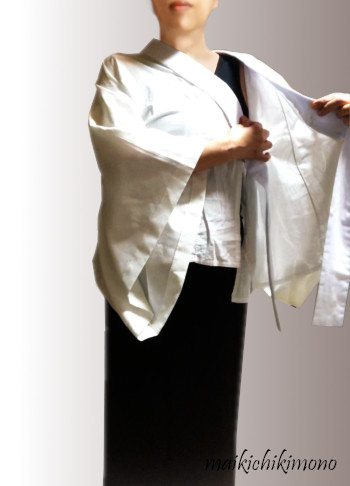
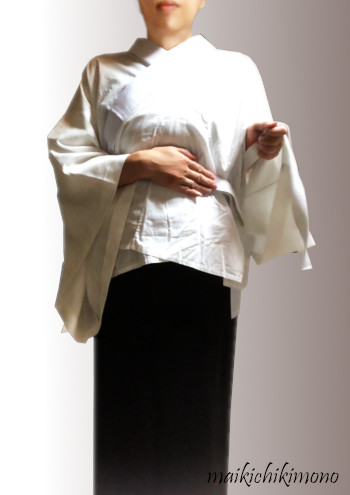
1. Pass the loop side through the hole of emon-nuki from left to right.
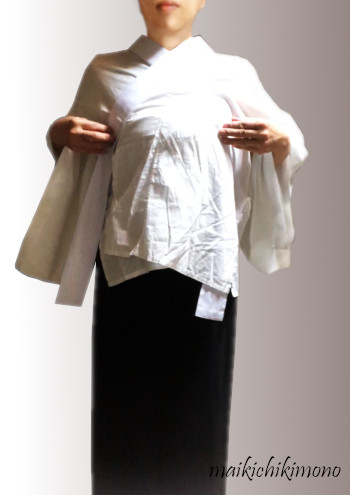
2. Hold the collar equally to center the back seam.
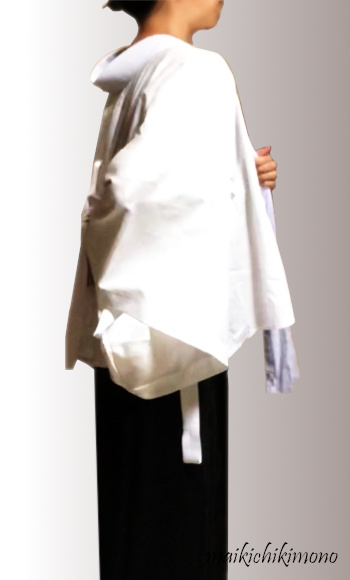
3. Hold the back seam and pull it down to make some space at the nape called emon.
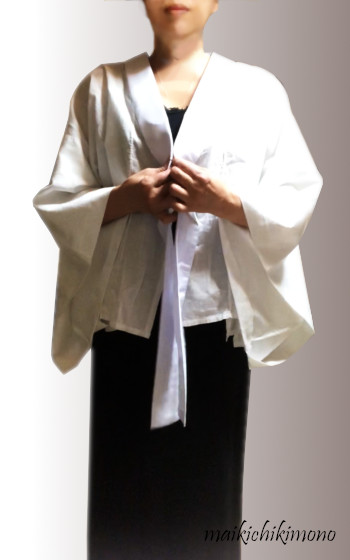
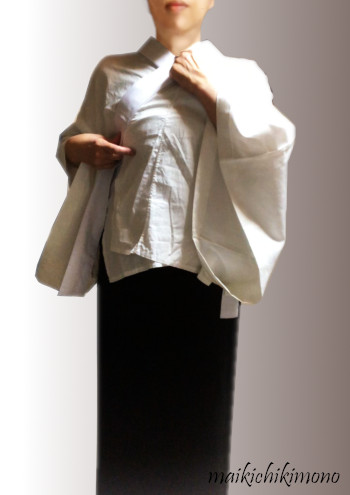
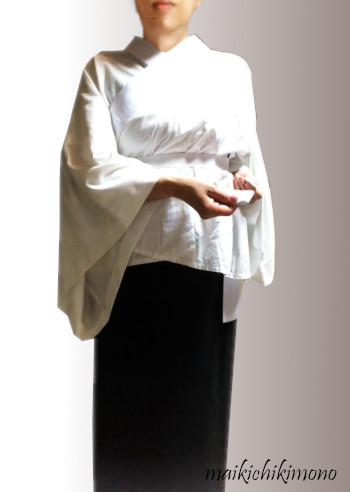
4. Holding the right collar, cover your left breast like wrapping with the right front bodice.
5. Cover your right breast like wrapping with the left bodice, holding the left collar.
6. Make sure the right and left collars are symmetrical.
7. Check the position of the intersection of the collar.
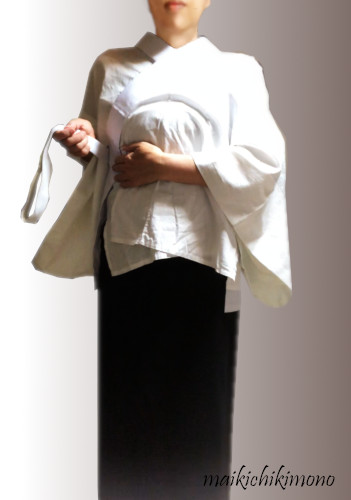
8. Take the loop side.
9. Put it under the breasts.
10. Take the hook side.
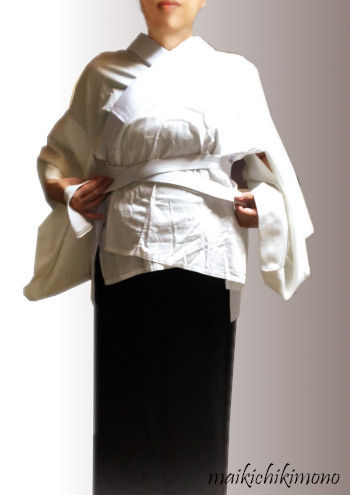
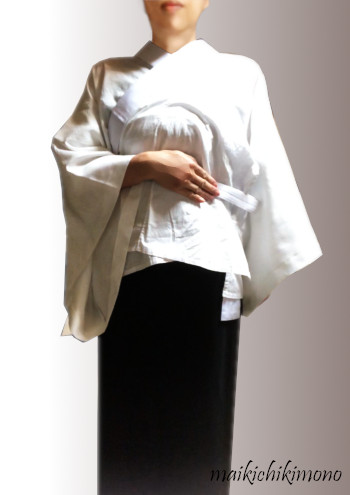
11. Cross the belt with the hook side up and bring the hook side to the back.
12. Hook the loop.
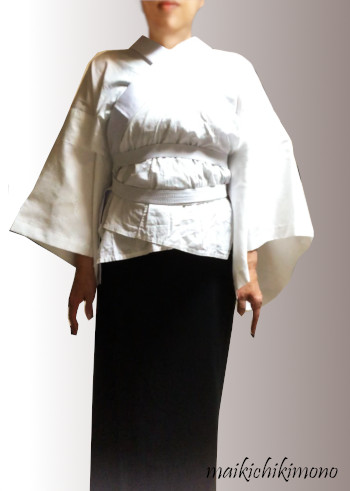
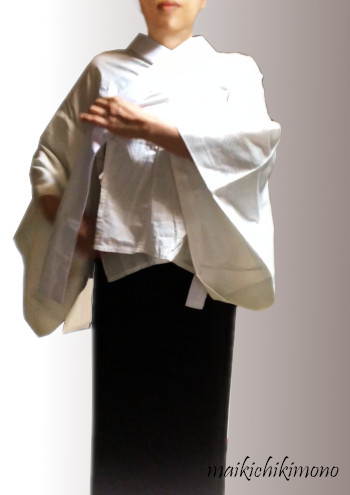
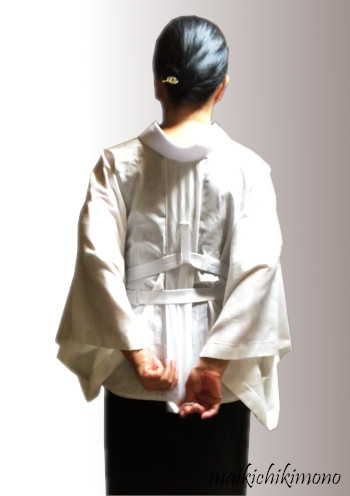
13. Place the single belt under the breasts, make 4 fingers space below and place the double belt there. You can use this instead of datejime.
14. Push the back bodice into the front one at the openings called miyatsuguchi at the same time. By doing this, you can remove wrinkles on the back.
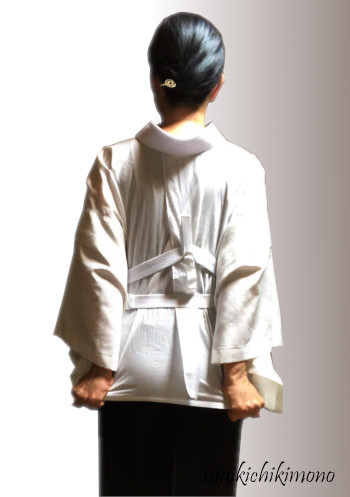
15. Straighten the back by pulling juban and make emon u-shaped.
16. If you want a v-shaped emon, pull down emon-nuki.
Finished!
It took about 50 seconds. Quite quick!
How to improve nibushiki juban
Remake sleeves to be detachable
I have two separate juban for the three seasons and one for the summer.
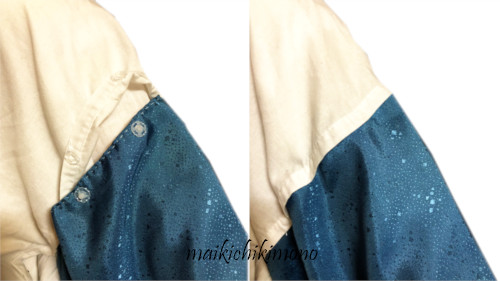
Those sleeves are stitched, so I made one of them detachable.
I thought about whether to use Velcro or snaps.
I chose snaps because I had a sad experience that Velcro damaged my obiage. In case of using snaps, the sleeves will be shortened by the diameter of the snap. I also chose light plastic snaps so that the sleeves don’t droop.
First, unstitch the arm holes.
Stitch the seam allowance if necessary.
Sew eight snaps evenly on the arm holes.
It will be shortened by the diameter of the snap in this case, so if the sleeves come out from kimono sleeves, do something as necessary. For example, stitch the middle of sleeve bottoms to shorten them, use safety pins or a double-sided tape for haneri.
Other improvements
Extend the collar and emon-nuki
Extend the collar and emon-nuki to adjust the position or shape easily.
Unstitch the side seam
There is a case that the collar does not fit well. if you have smaller juban than you, you just unstitch the side seams. Then you can freely adjust the collar.
I hope that these examples are helpful for you.