How to tie nijudaiko
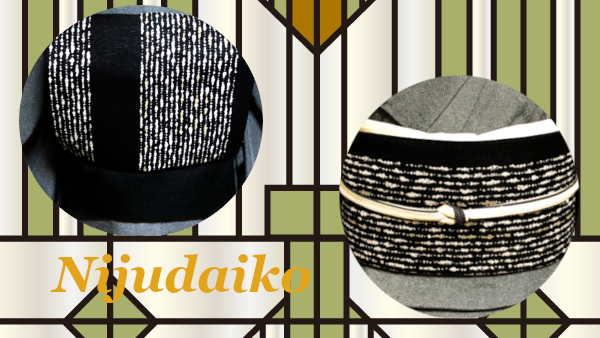
Nijudaiko or nijutaiko is the most popular obi shape for auspicious formal events. Two layers are made in hope that happiness will happen again.
There are two types of fukuro obi, one for formal wear and one for non-formal wear.
Obi I used in this lesson is called share-obi used for casual events. It has no silver and gold threads.
This kimono with shark skin patterns is one of edo-komon, traditional patterns worn by samurai in the Edo period. Today, edo-komon with a family crest is worn on ceremonies, while one with no-crest is worn as ordinary clothes.
Okay, let’s try!
Preparation
Things necessary
- Fukuro obi
- Obijime cord
- Obiage cloth
- Himo (karihimo)
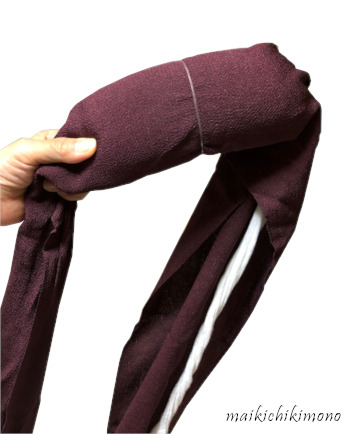
- Obimakura pad wrapped with the gauze (30 cm × length of your opened arms)
- Clip and rubber band (if you need)
If you already selected your obiage, wrap obimakura with it as shown in the photo below.
Please refer to Preparation for kimono lessons if you want to check the detail.
Before you start tying, fold your obi into karidatami.
Please refer to this video.
How to tie nijudaiko
Wrap obi and tighten it
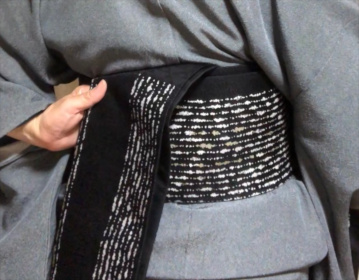
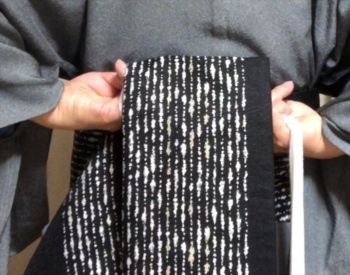
1. Take the half-width part called te and put it on your shoulder. The folded edge called wa is facing outward.

2. Wrap obi once.
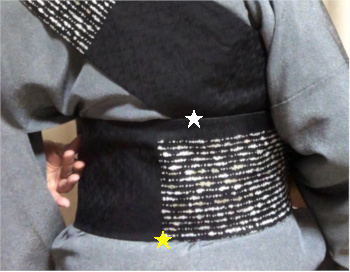
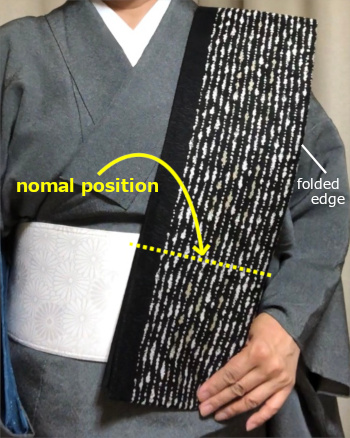
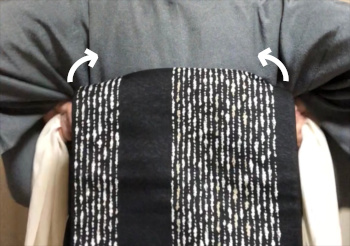
3. Take the diagonal part (white star) from the bottom.
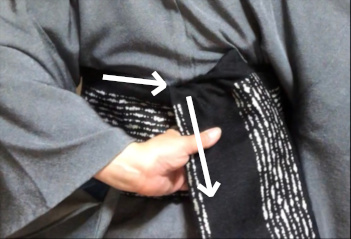
4. Draw the white star to the bottom line called obishitasen (yellow star) and pull the right hand obi forward.
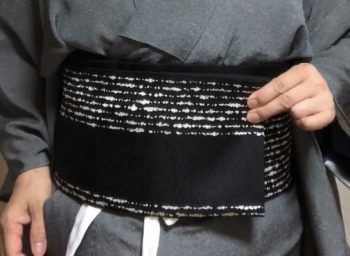
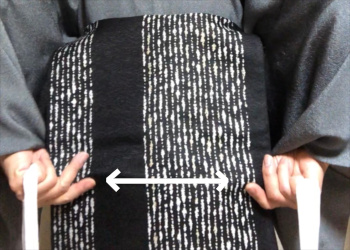
5. Widen the width of the front part if necessary.
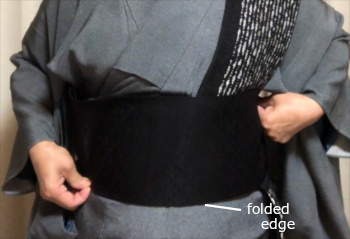
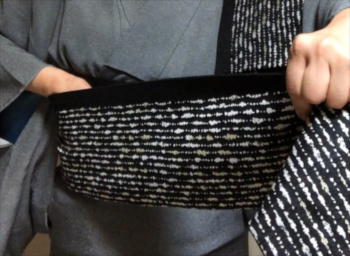
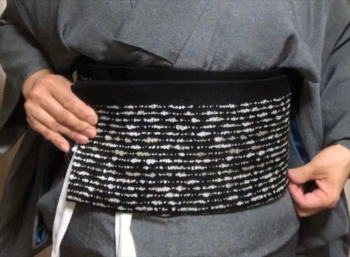
6. Wrap the obi again and tighten it.
Make a knot by folding
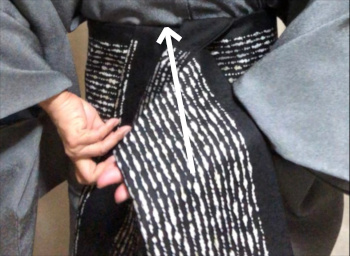
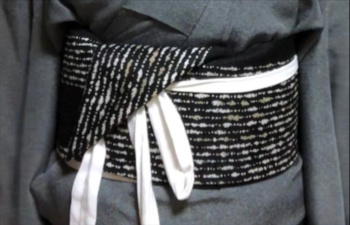
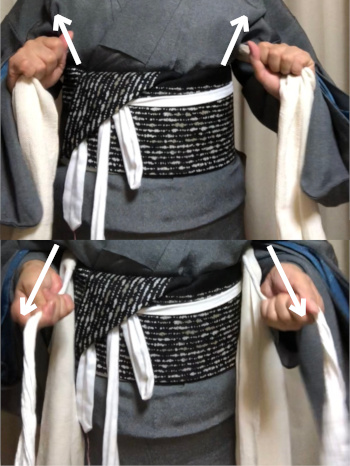
7. Take the te off from your shoulder and hold the folded edge called wa.
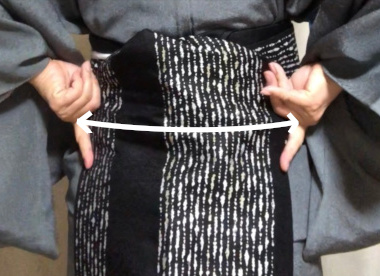
8. Slide it to the right beyond the back center and slide the left hand down to the bottom line.
9. Slide te to the left a little along the bottom line. While hold the left hand there, tighten the right hand obi.
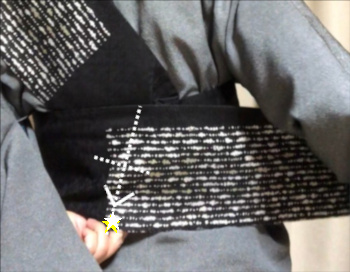
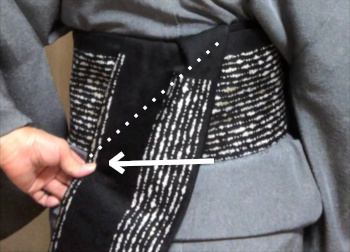
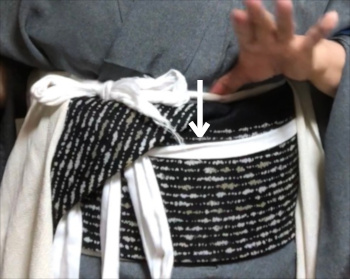
10. Te and tare crossed. Place your right hand under the cross part, holding your left hand in place. Then fold it up as following the dotted line.

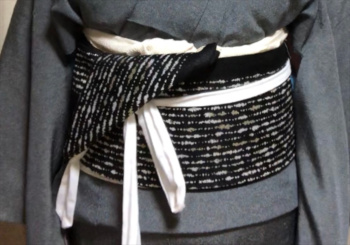
11. The back view after folding. Folding te and “tare” together makes a knot.
12. Take karihimo and pass it to the other hand.

13. Secure the knot with karihimo
14. Tie it firmly on obi.
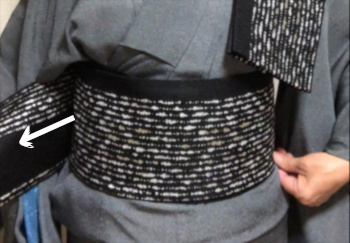
15-1. Take te, pull it firmly, and bring it to the front. If it is a little bit longer, you should turn it to the opposite side.
15-2. Here! It became shorter.
16. Tuck te in.
Make otaiko
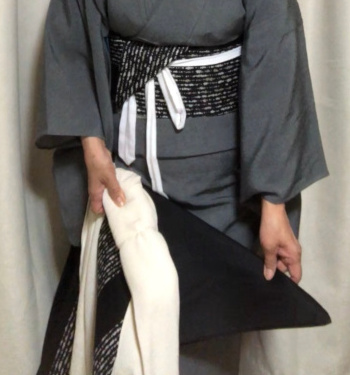
17. Open taremoto, near the knot and fold into a triangle.
18. Take tare.
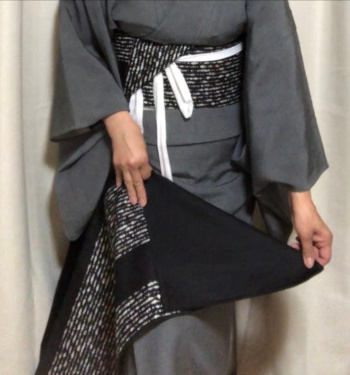
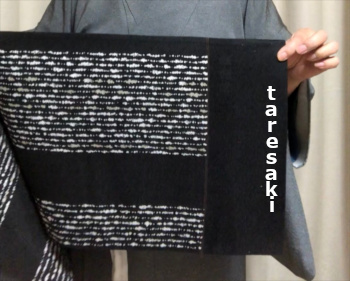
19. Make a triangle from teresaki, the end of the wide part on your lap.
20-1. Place only 1/3 of obimakura pad on the side of the triangle as shown.
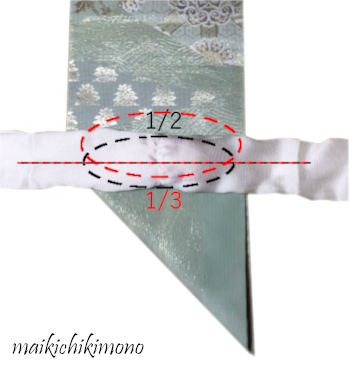
20-2. Place a pad for obi on the line of red (1/3) or the black (1/2). It depends on your height.
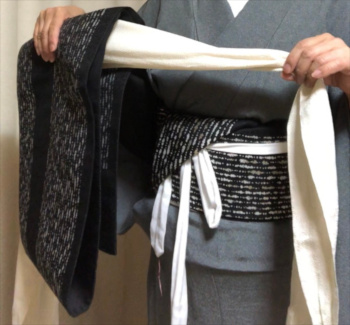
21. Unfold the triangle and make a double layer with the rest of tare.

22. Straighten obi between the knot and the double layer.
23. Hold obimakura, the pad firmly.
24. Put it on the upper line of obi.

25. The view after putting on. Tie the gauze string firmly to secure the pad and tare in place.
26. Hold the gauze string only. While pulling it forward, move it up and down to fit the pad firmly on your back.
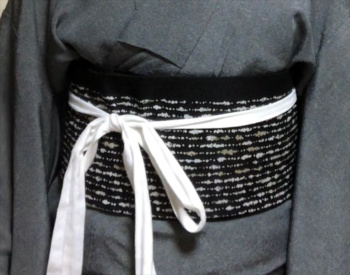
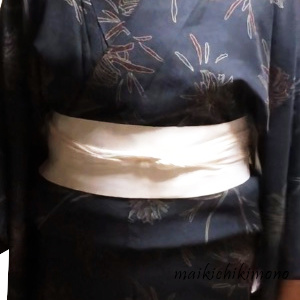
27. Tie the string aside and pull it forward at the center front. Put the knot deeply between obi and datejime.
28. Tie the obiage temporarily.
Make “otaiko”
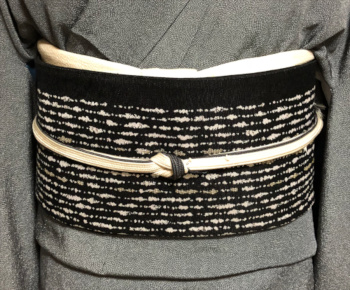
29. Place the karihimo along the bottom line of the obi, move it to the double layer of tare and hold both together.
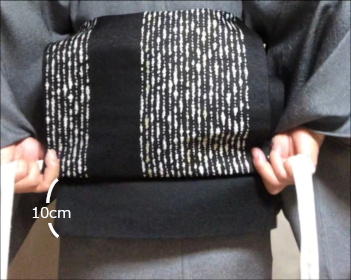
30. Fold the double layer of tare inside to make otaiko and leave tare about 10 cm from taresaki. Tie karihimo firmly on obi at the front,
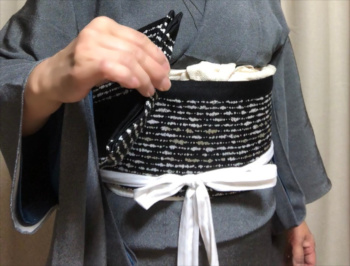
31. Take te.
32-1. Insert te right under the double layer otaiko.
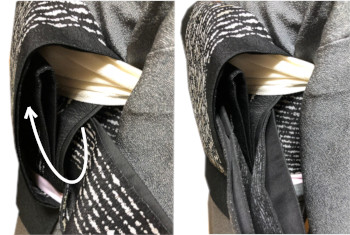
32-2. Here are the side views.
The next step is tying obijime. Please refer to How to tie obijime and obiage.
Here is the video too.
The view after tying obijime.
33. Hold obi tightly with obijime cord.
The next step is tying obiage. Please refer to How to tie obijime and obiage.
Here is the video.
Okay, finished!
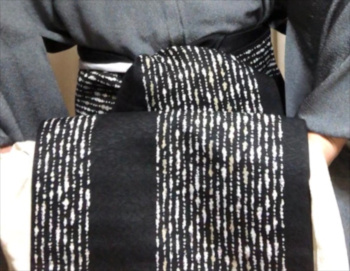
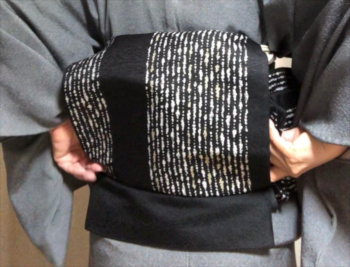
34. The view of the front.
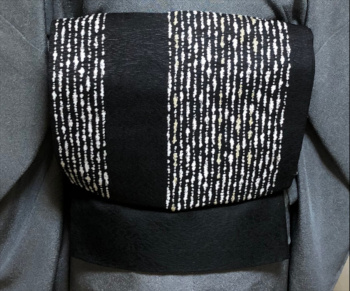
35. Finally check your otaiko shape.
Okay, ladies! Good job!