How to tie obijime and obiage
Obijime is a decorative cord to hold obi in place. By firmly tying, obi shape is fixed.
Obijime has two types, such as round and flat. The flat type has two sides. So please be careful not to be upside down when you tie it.
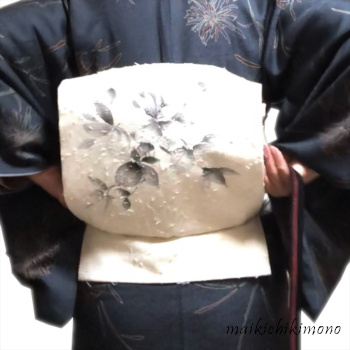
Obiage is a decorative long piece of cloth supporting the shape of otaiko on the back by covering the pad called obimakura.
The knot I share you is the most basic one called hon-musubi.
At first, please watch the video, how to tie obijime.
Tie obijime into hon-musubi
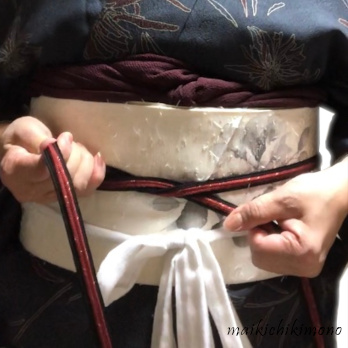
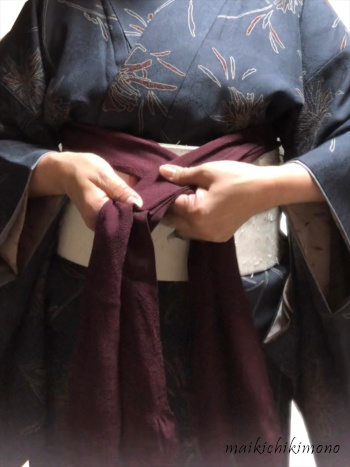
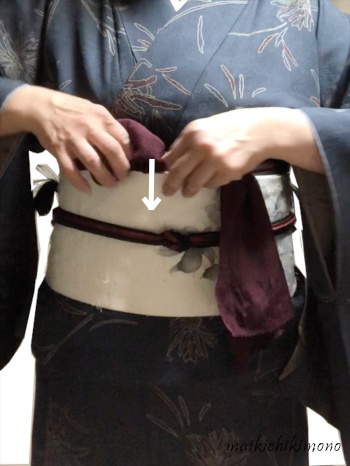
38. Take the center of obijime and put it between otaiko layer and te.
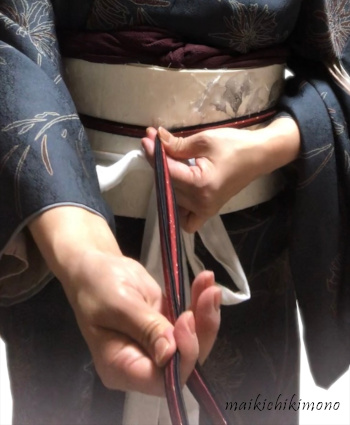
39. Hold both ends equally.
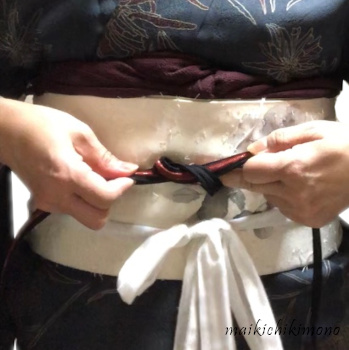
40. Cross them with the left side up and hold them pulling forward firmly.
41. Tie it once firmly.
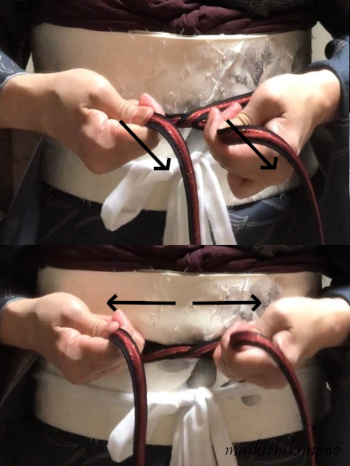
42. Hold the ends very near the knot, and repeat stretching and tightening a few times because it is very stretchable.
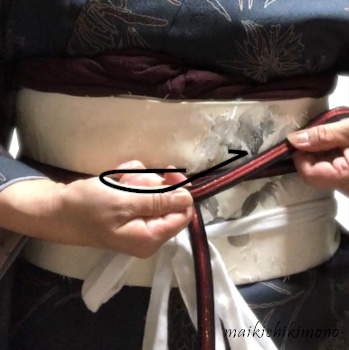
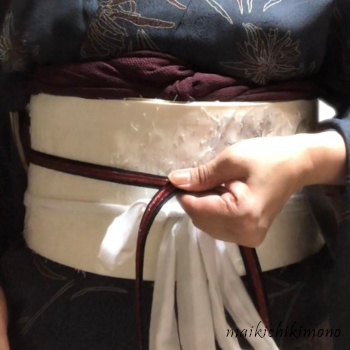
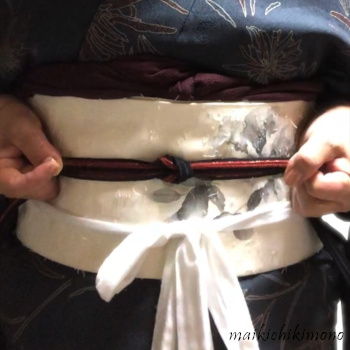
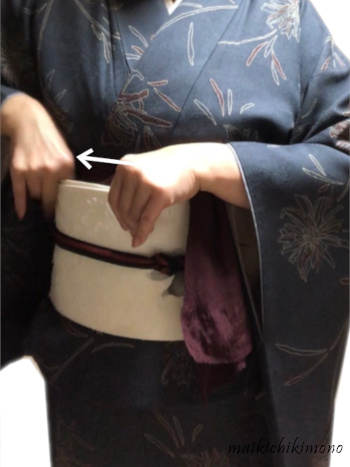
43. Hold the knot firmly with your little finger so as not to loosen it. Turn your right hand to the left. Then put the right end up and the left end down.
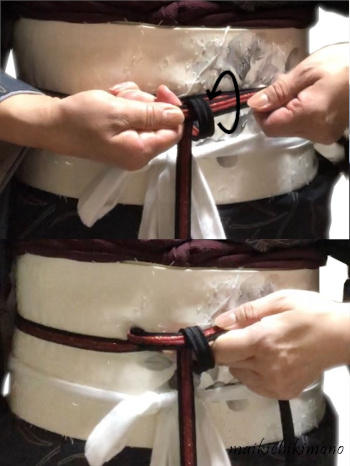
44. Twist the left end around the right end once.
45. Hold the first knot with any fingers so that it does not come loose, and carefully tighten it.
46. Tighten more.

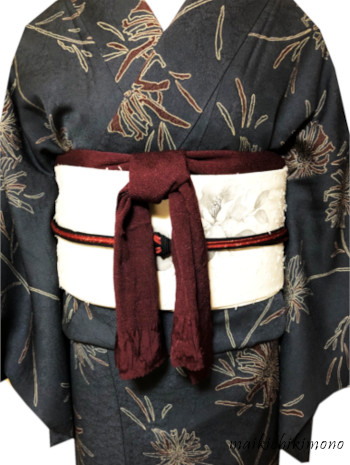
The vertical line of the knot is on the left.
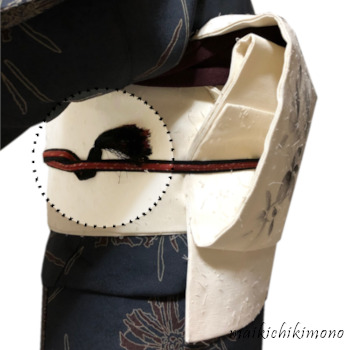
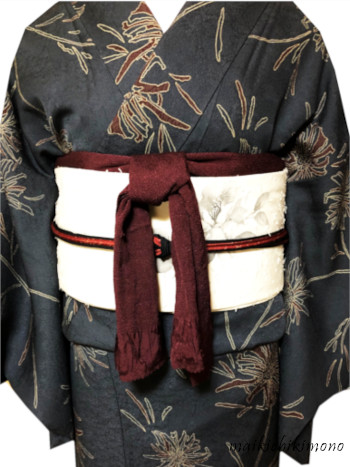
47. With both tassels facing up, tuck the ends closer to otaiko.
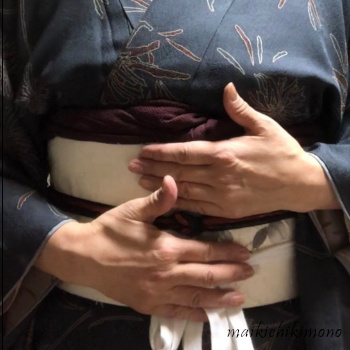
48. Set the obijime in the middle of obi.
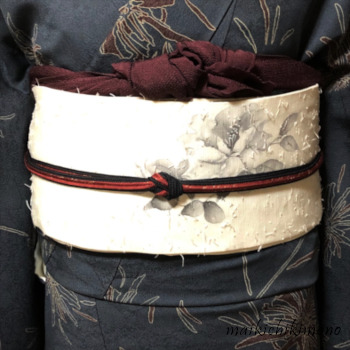
49. Finished. Take the karihimo away.
Tie obiage into hon-musubi
The next step is how to tie obiage. Please watch the video.
How was it? Let’s take a look at the details.
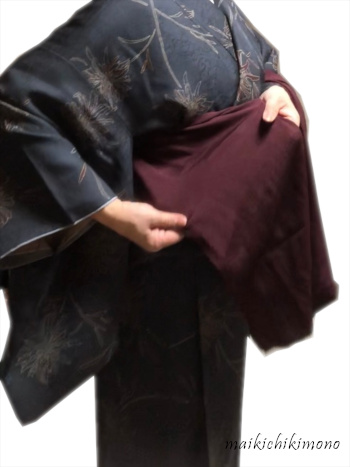
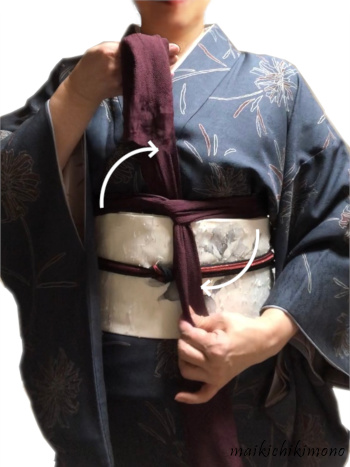
50. Untie obiage and unfold the right part first.
51. Open the right part with the front side up.
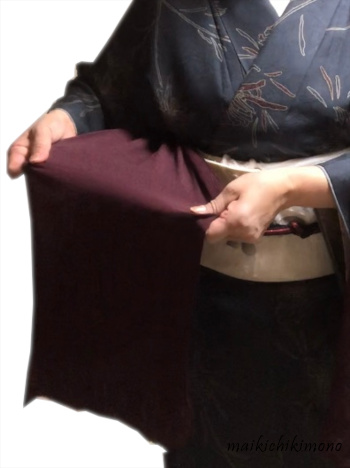
52. Fold it in 1/3 using your palm.
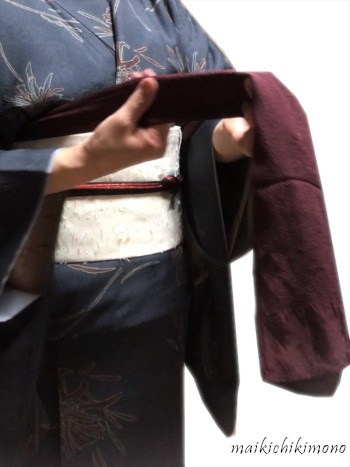
53. Fold it in half sliding the fingers. It’s just like drawing a line with the fingers. A width of 4-5 cm is good.
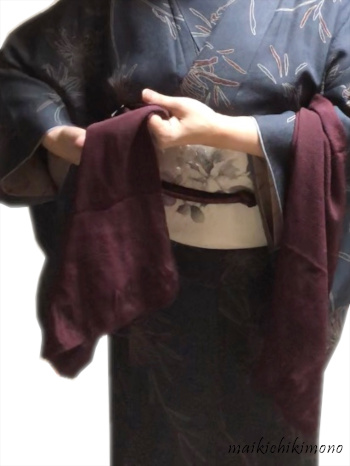
54. Pull the right part.
55. Rest it along the upper line of obi. Then, do the same thing for the left part.
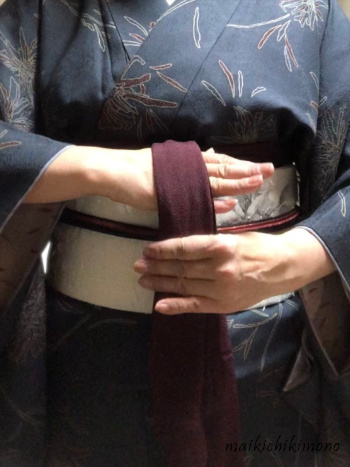
56. Hold both parts and pull them forward once.
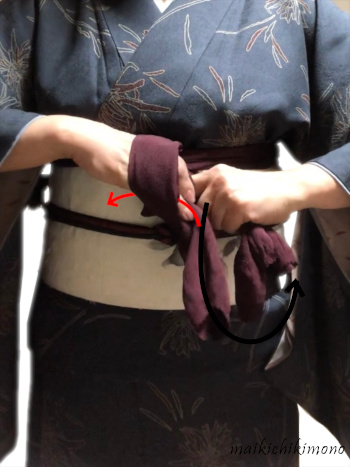
57. Cross both parts with the left side up. Firmly hold the intersection while pulling them forward.

58. Make a knot.
59. Rotate it 45 degrees clockwise.
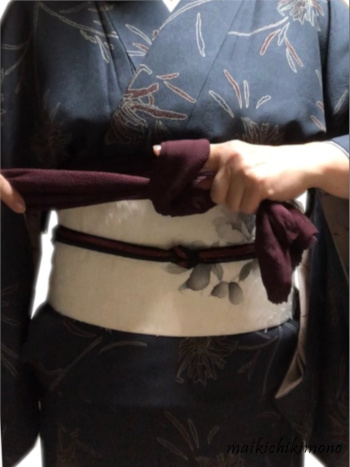
60. Straighten the fold and put it on your right hand.
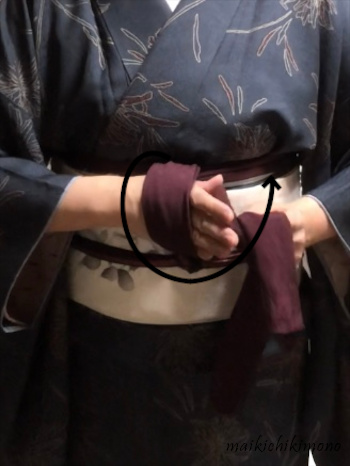
61. Make a loop with the right part.
62. Pick up the left part with the right fingers and pass it through the loop.
63. Pull it out while supporting the loop with the index finger.
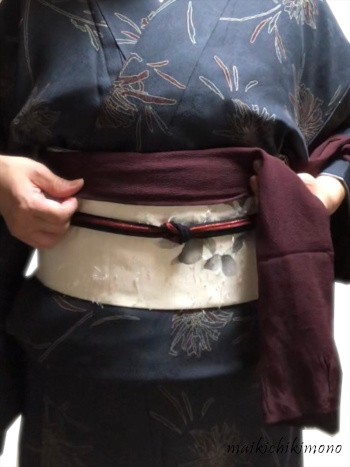
64. Make a loose knot. Don’t tie it firmly.
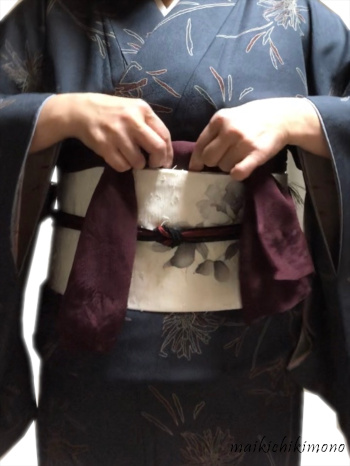
65. Fold the knot half and put it between obi and datejime, and get a beautiful line.
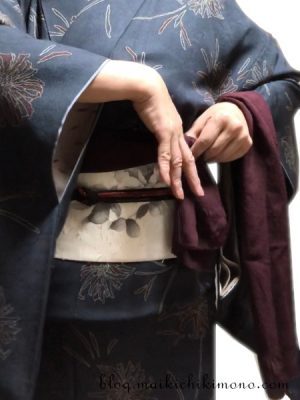
66. Put the right part in.
67. Slide it aside along the upper line. Do the same thing for the left part.
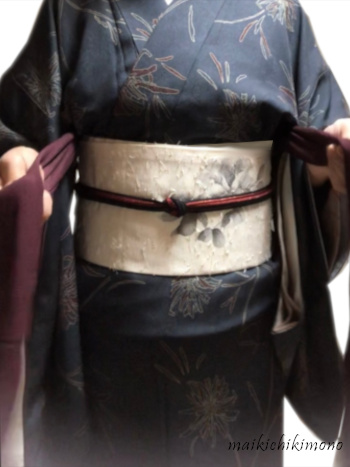
68. Make sure that the cross point of haneri, obiage and obijime knots are aligned in the center front line.

69. Finished!
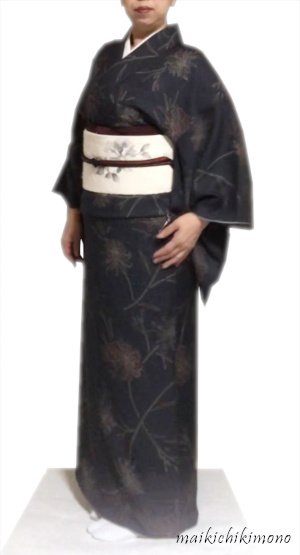
70. You did it!
Put on zouri and go out!