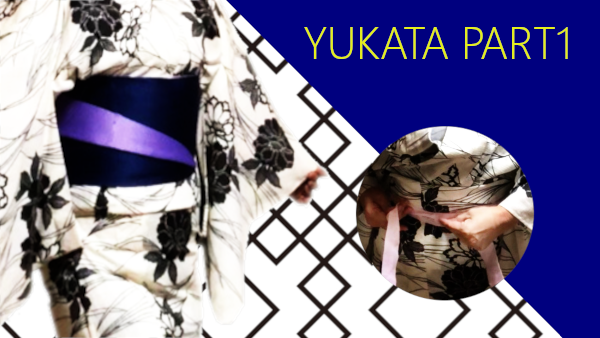
How to put on yukata part 1 : from putting on yukata to tying koshihimo
Hi, kimono lovers!
Did you prepare everything and are you ready to put on yukata?
If you want to review the preparation, please go back to Preparation for yukata lessons.
If you are okay, let’s begin!!
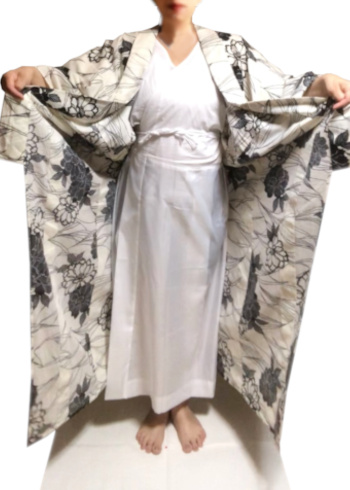
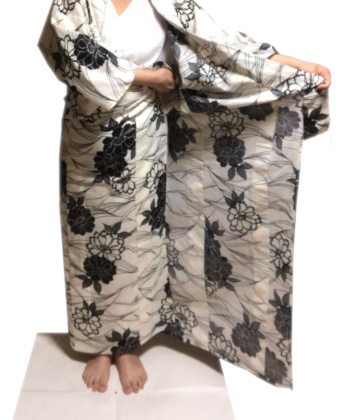
Put yukata on and center the back seam

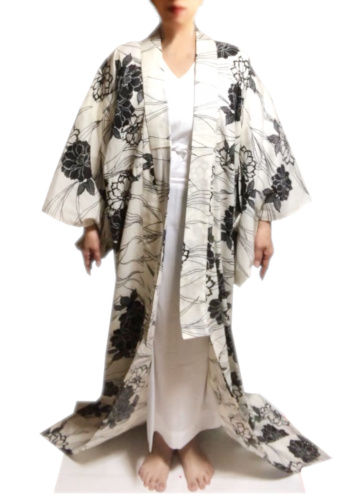
1. Put yukata on and slide your arms through the sleeves.
2. Match the two short lines on the collar called kake-eri sen to wear yukata symmetrically. If the collar has no lines, hold the collar equally.
3. Hold the collar and the back seam, and move them back and forth to center the back seam. Pull the back seam down to open a preferred space at the nape called emon.
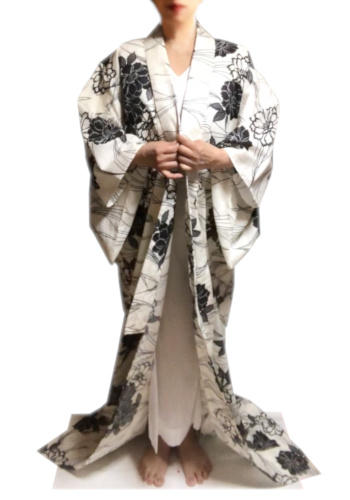
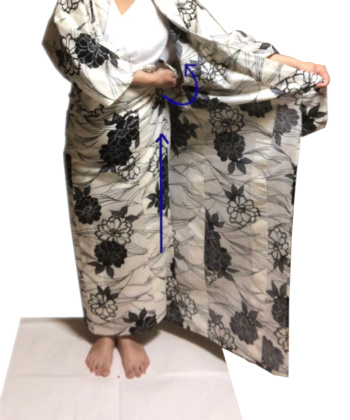
Adjust the length of yukata

4. Slide the hands along the collar and hold the collar at the base of the thighs.
5. Bring up the skirt part.
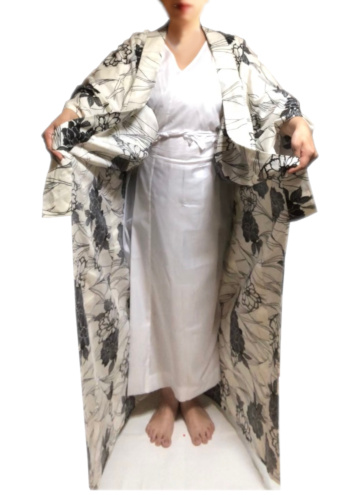
6. Bring it down to set the hemline around the ankles.
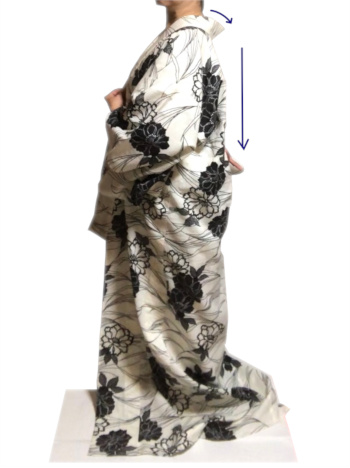
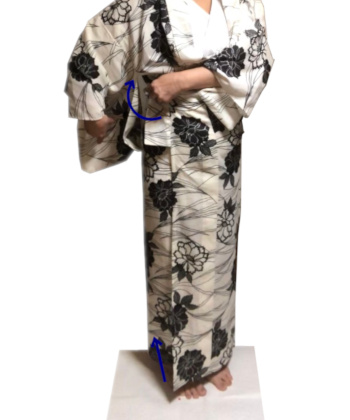
Adjust the width of the front body
In kimono, we call the left front body uwamae and the right front body shitamae.
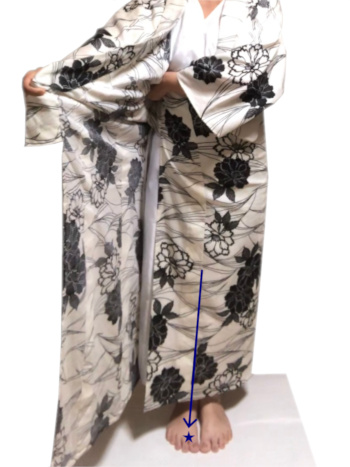
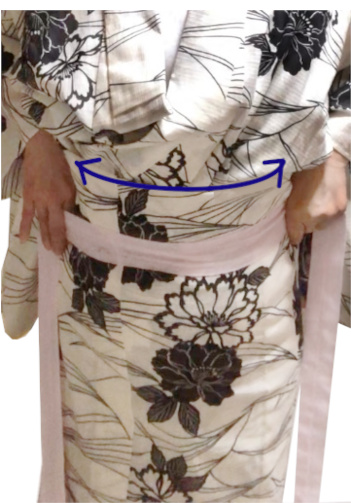
7. Bring the left hand to the right hip bone. Put your feet together and make sure that there is the seam of okumi called okumisen (blue arrow) between the big toe and the next one.
8. Open the left skirt part half.
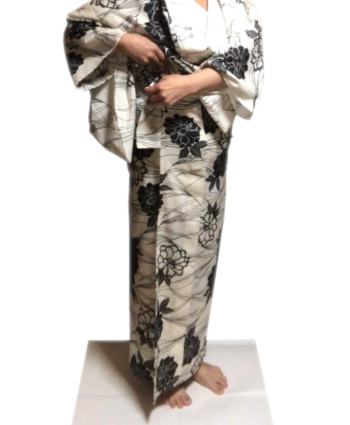
9. Bring the right hand to the left hip bone.
10. Twist the hand up to raise the tip of the right corner called tsumasaki.
11. Bring the left hand to the right hip bone and twist the hand up to raise the tip of the left corner.
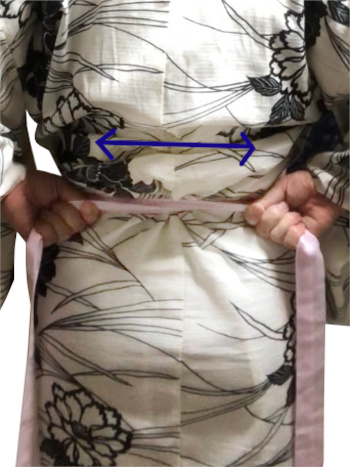
12. Holding the collar end firmly, and pull out the extra fabric of the right side.

13. Pull out the extra fabric around the waist.

14. Smooth the back too. Please do it carefully. If you do so, you’ll get a beautiful ohashori.
Tie koshihimo
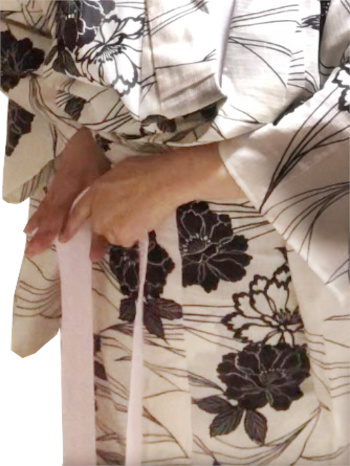
15. Take the center of koshihimo. Pass it to the right hand holding the collar end not to move.
16. Put koshihimo around the hip bones.
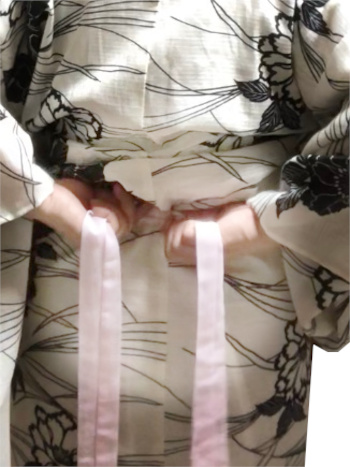
17. Cross it at the back.
18. Hold koshihimo shortly and pull it horizontally in the hollow of the back.
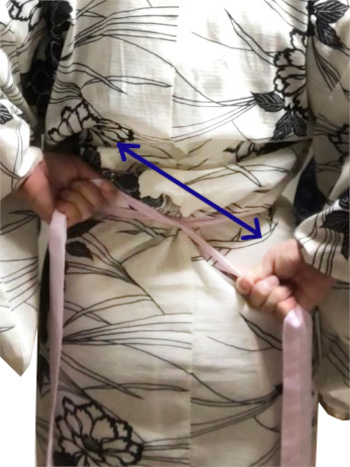
19. Pull it again diagonally.
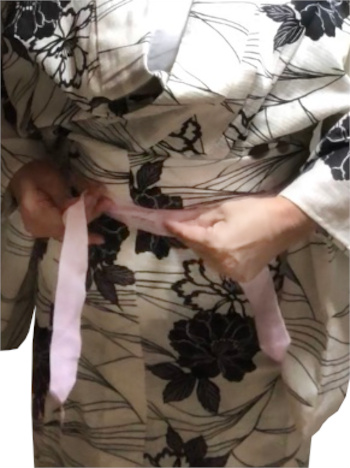
20. Bring the ends to the front and tie it once.
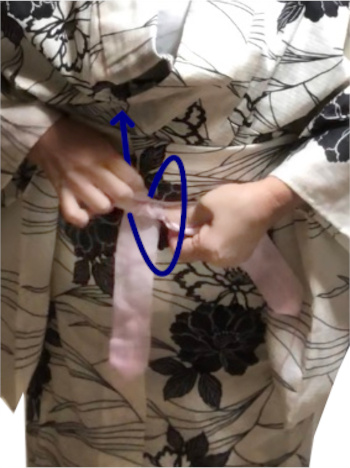
21. Pass one end between your body and koshihimo.
22. Koshihimo will not loosen even if you release your hands.
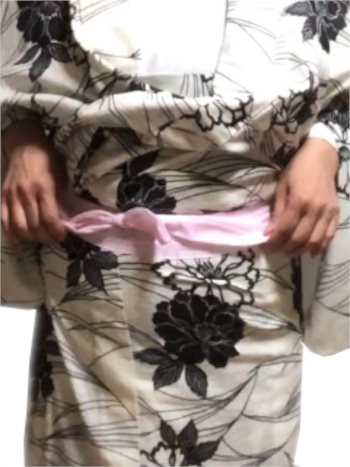
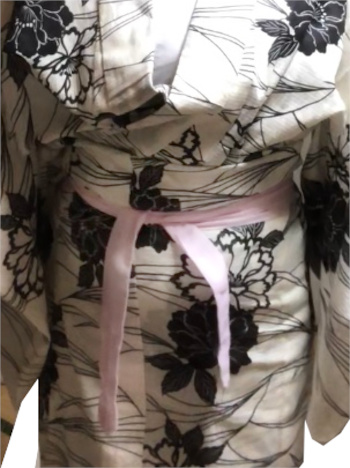
23. Make a knot and tuck the ends in. Always tie a knot aside.
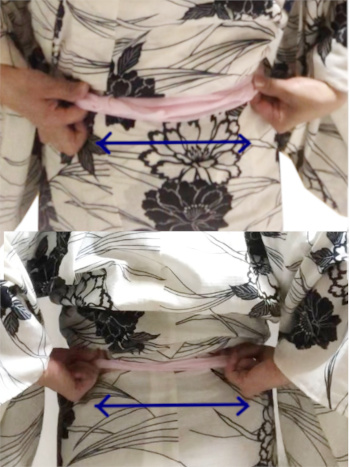
24. Remove wrinkles around koshihimo by sliding your fingers.
Good job, ladies!
Let’s go to part 2!