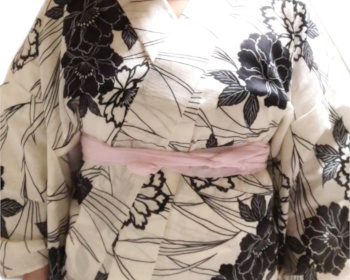
How to put on yukata part 2 : from straighten ohashori to putting on obiita

Are you ready for the next step?
We’ll practice how to close the collar called eri-awase and make ohashori.
If you want to review the previous stage, please go back to part 1.
Okay, get started!
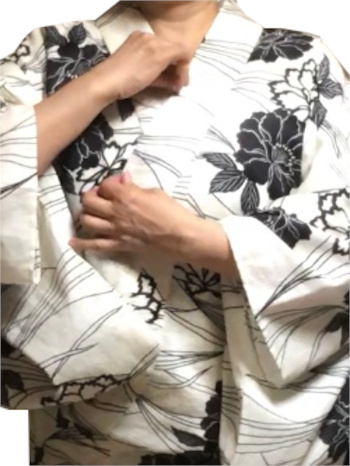
Make sure your collar ends
1. Please make sure that the left end of the collar is firmly held with koshihimo.
2. Carefully pull out the corner of the collar above koshihimo so as shitamae or the right part not to get loose.
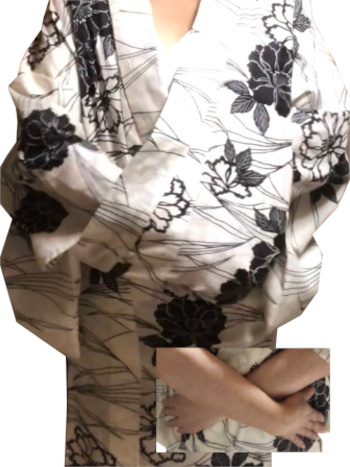
You can’t usually see inside of the left upper body, so I took it off to see well.
Straighten ohashori
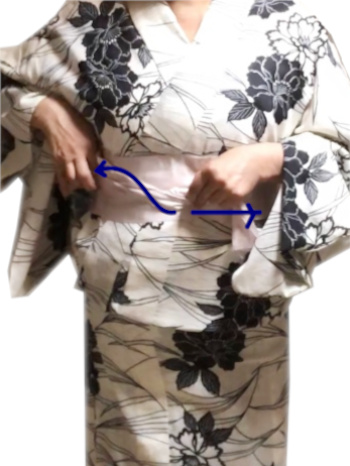
3. Put the hands in the center of the back.
4. Move the hands from the center to both sides to make the line of ohashori sharp.
5. Put the left hand inside the right part from miyatsuguchi, a side openings, and put the right hand inside the left part.
6. Move the hands from one side to the other side at the same time to make the line of ohashori sharp.
7. Check your front tuck. If the tuck is thin, go to 8. If the tuck is thick, fold the extra fabric up to make it thinner. Let’s jump to 14.
Close the collar
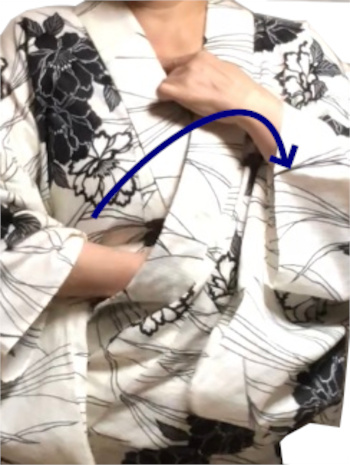
8. Hold the right collar and cover your breast with the right part.

9. Do the same thing for the left part. Make the right and left collar symmetry.
Tie munahimo
You don’t have to tie munahimo too much. Not too tight, not too loose!
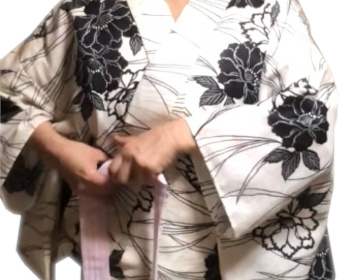
10. Hold the collar under the breast firmly. Take the center of the string with the left hand and pass it to the right hand.
11. Slide munahimo to the back and cross it at the back.
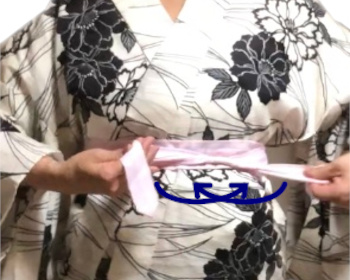
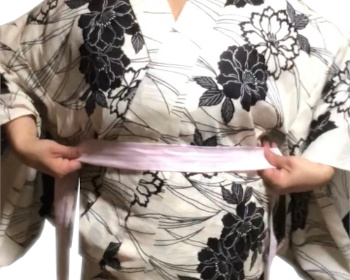
12. Bring the ends back to the front, make two loops and cross the ends.
13. Tuck them in. Okay, jump to 20!
Another way of straightening the extra fabric
You can’t usually see inside of the left upper body, so I took it off to see well.
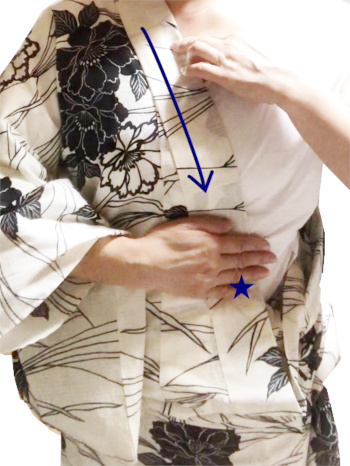
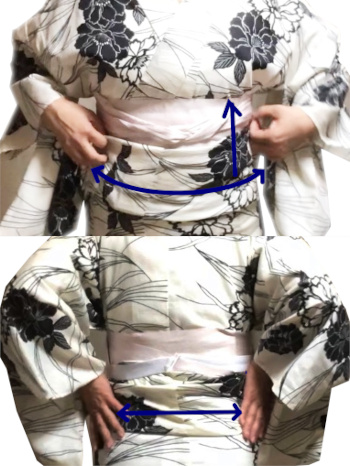
14. If you have thick ohashori, start from here. Slide the right hand along the collar and stop it under the breasts, making sure the cross point of the collar with the left finger.
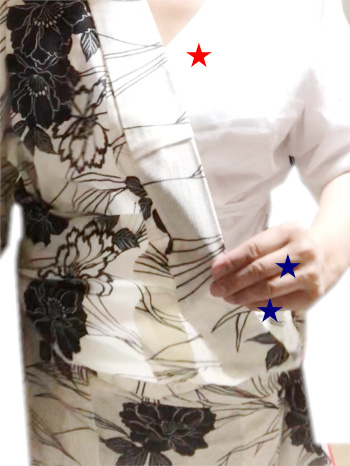
15. ★ the blue stars are the same place as the fourth finger (no.14). Move it forward horizontally. Please be sure to keep the position of the collar (★ the red star).
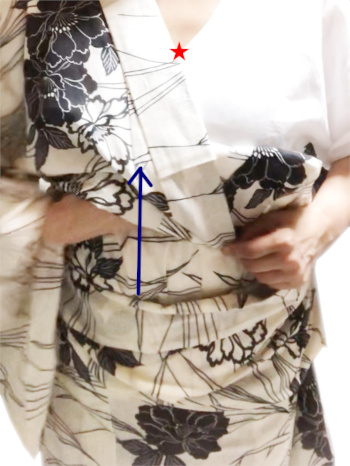
16. Tuck in all extra fabric at the front.
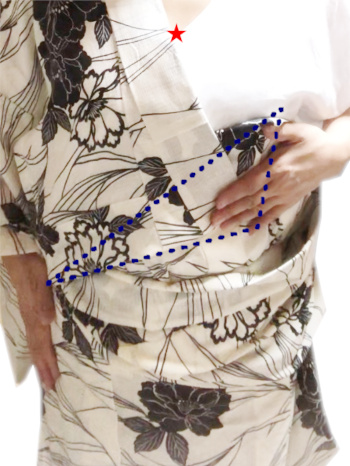
17. Make a pointy triangle under the breasts. This is the view after tucking.
18. Match the lines of the front and rear ohashori on the right side.
19. Go back to 10~13, tying munahimo.
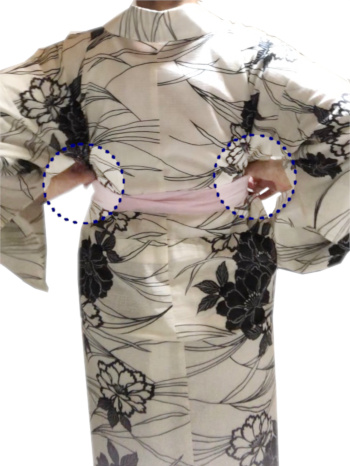
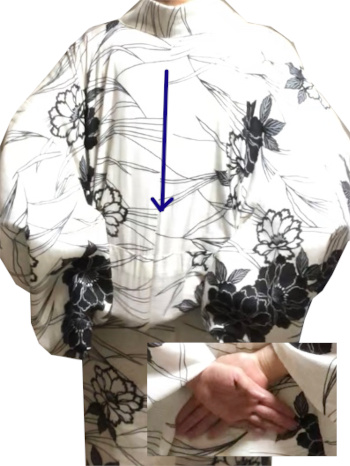
20. Remove wrinkles on the back. Push the back part at miyatsuguchi into the front part with both thumbs at the same time.
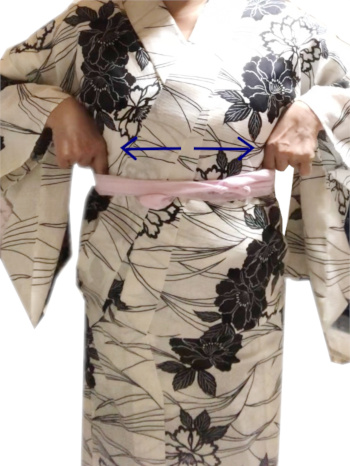
21. Remove wrinkles at the front. Please carefully do it not to get loose the collar.
Wrap datejime
22. Place the center of datejime sash on the upper part of the chest and slide it under the breasts.
23. Cross it at the back and pull one side down.
24. Fold it up.
25. Bring the ends back to the front. Make two loops and cross the ends.
26. Tuck the ends in one by one while holding the twisted knot.
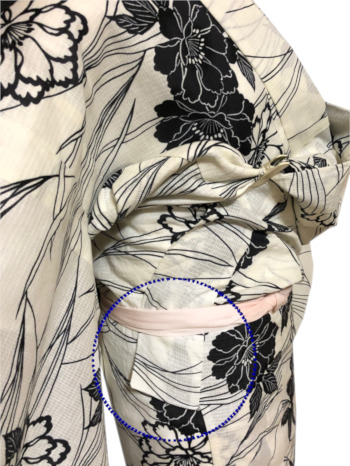
27. If you have a long ohashori, shorten it and put it into datejime. Make a sharp line around the hip.
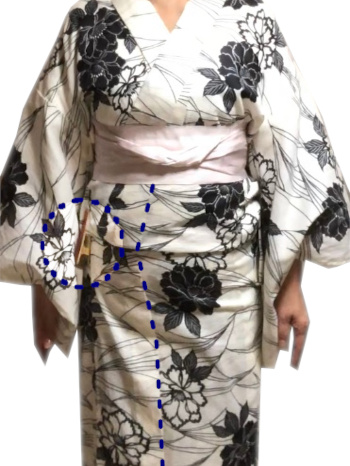
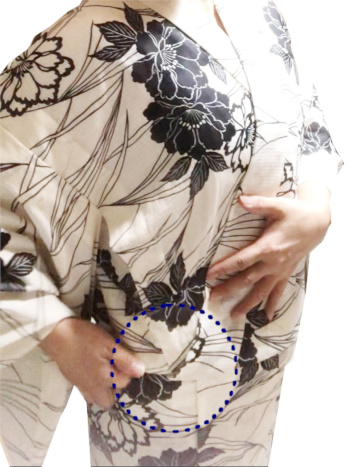
28. Please make sure that the seams on ohashori are connected to the seams on okumi. Let’s see the circle. Pinch there with a clip to keep the line of ohashori sharp.
Put on “obiita” board
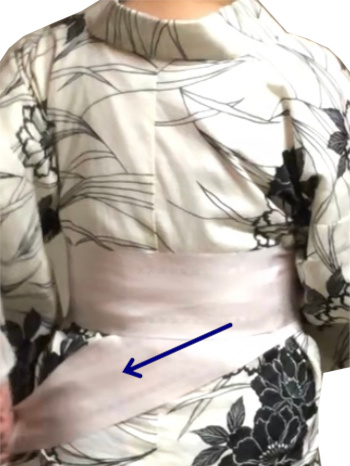
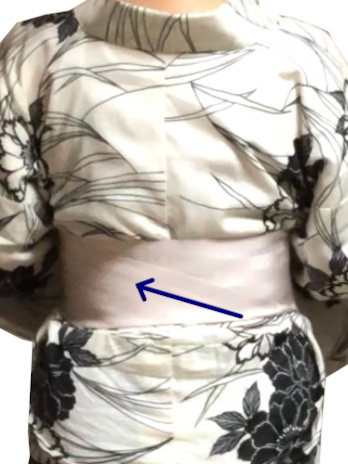
29. Put obiita board with a belt on datejime.
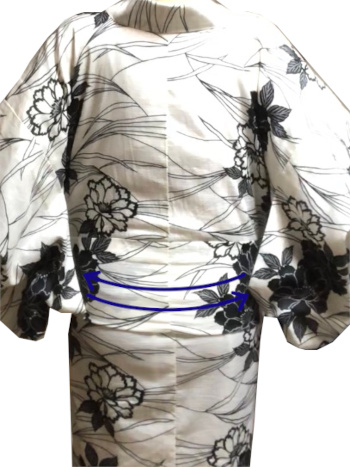
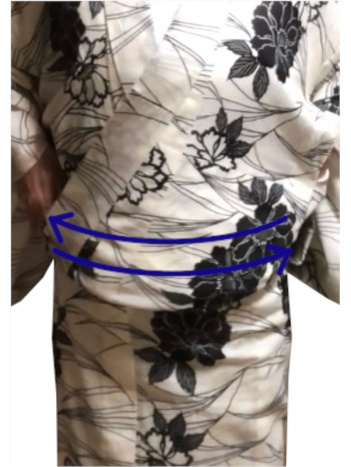
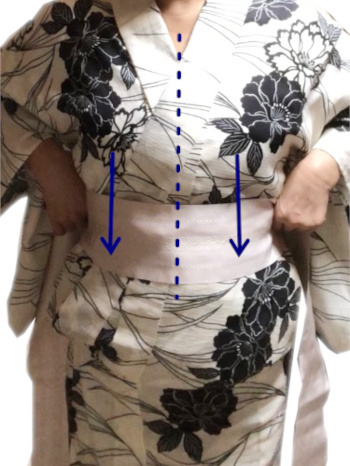
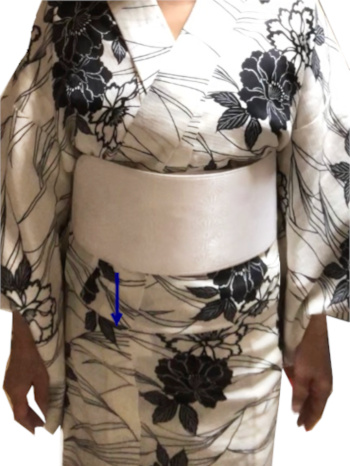
Basically the length of ohashori tuck is less than one index finger. See the blue arrow.
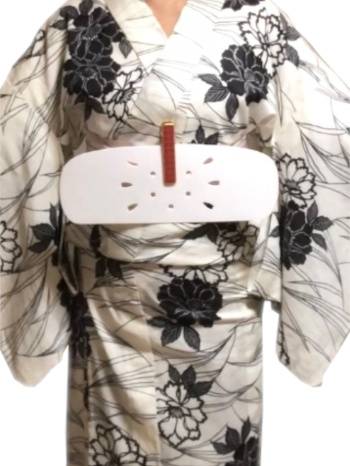
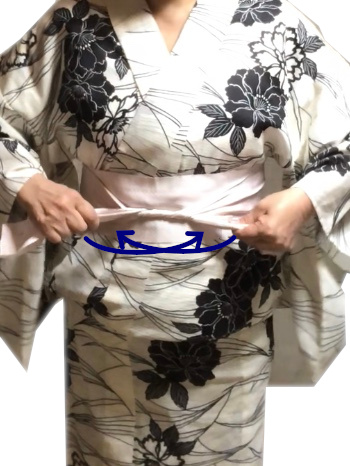
30. If you have a simple obiita board, pinch it at the front.
Now, you are ready to tie hanhaba-obi for yukata.
To be continued in How to tie yukata obi.