How to sew haneri on juban
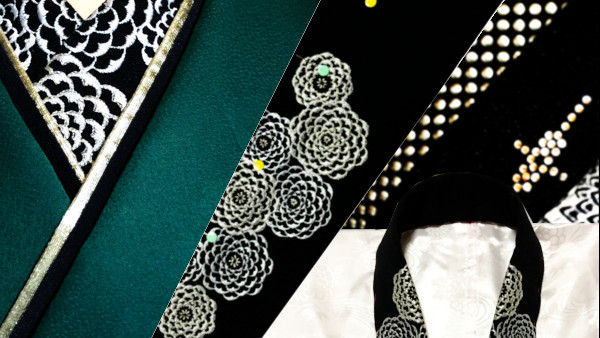
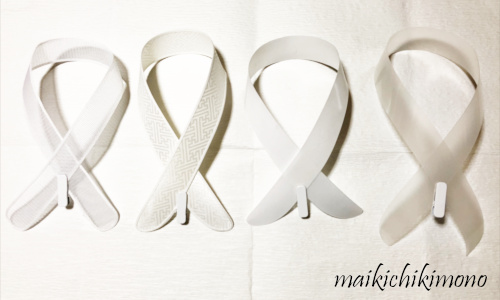
Haneri or a decorative collar is a piece of fabric.
It’s about 15 cm x 80 cm.
The decorative collar protecting from dirt cannot be seen much, but it plays a very important role. By changing the color of the neckline, you can add your originality to your kimono style and enjoy a different impression.
Changing haneri is a must in wearing kimono. So I share you how to sew haneri collar on the collar of juban.
Actually we have two ways to put haneri on the collar of undergarments.
They are using thread and needle or a double sided tape.
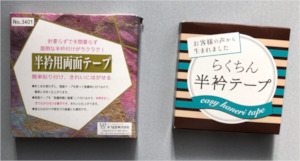
If you are in the following situation, you should sew it.
- You want to put it neatly and firmly.
- It is your favorite and used often.
Preparation
- Haneri (decorative collar)
- Juban (undergarment)
- Erishin (collar stiffener)
- Sewing kit
- Iron
- A press cloth that protect a delicate haneri from the heat of iron
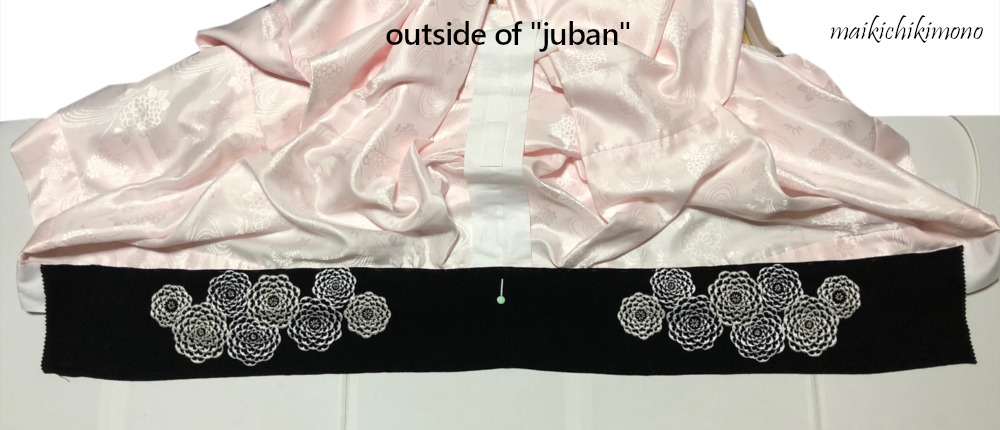
How to sew haneri
At first, remove the current haneri. Confirm the finish position of patterns beforehand.
This is the order of sewing haneri
Sew both ends and crease the seam allowance
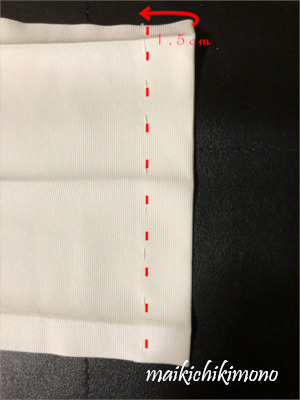
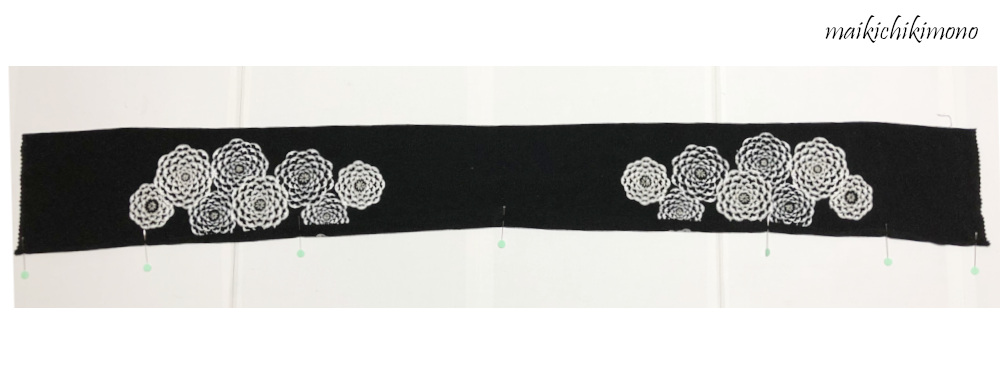
1. Roughly stitch both ends of haneri.
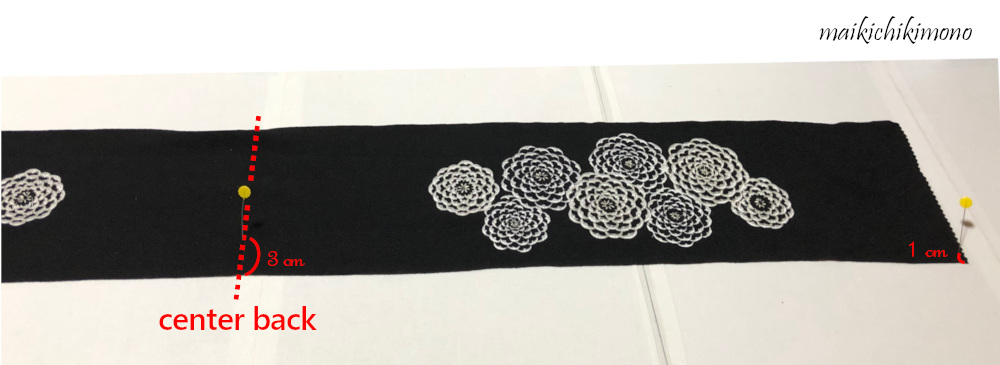
2. Place the haneri with the back side up and mark 3 cm from the center of the edge (long side). Also mark 1 cm from the end of the edge. If the haneri is dark color, it should be stitched on the center line like the image. (It is pulled out later.)
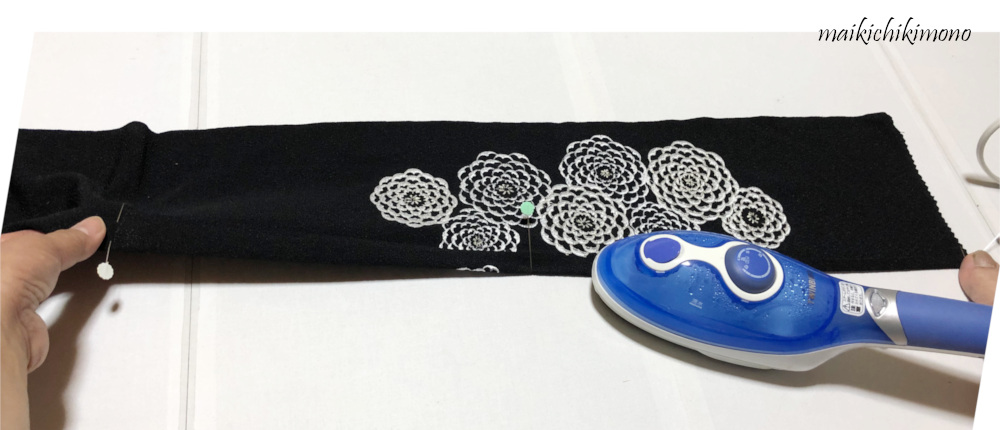
3. Make a crease by ironing. If it is a delicate fabric, cover it with a press cloth or iron on a low temperature setting.
4. Do the same thing for the opposite side.
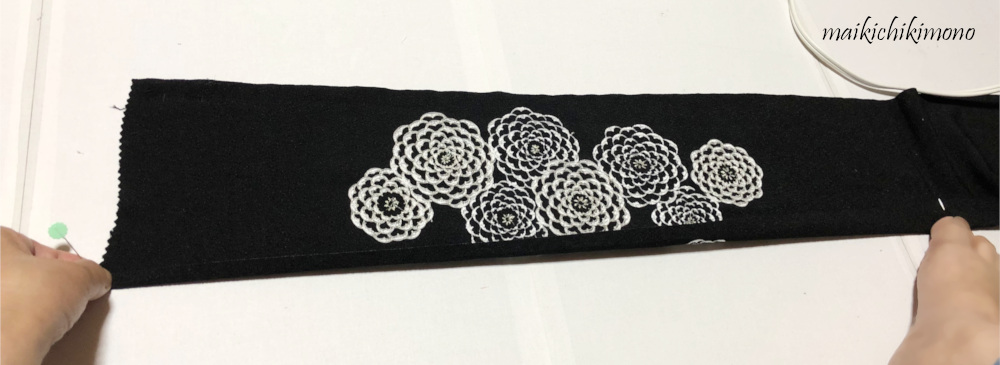
5. Fold the edge along the crease and pin it in the seam allowance.
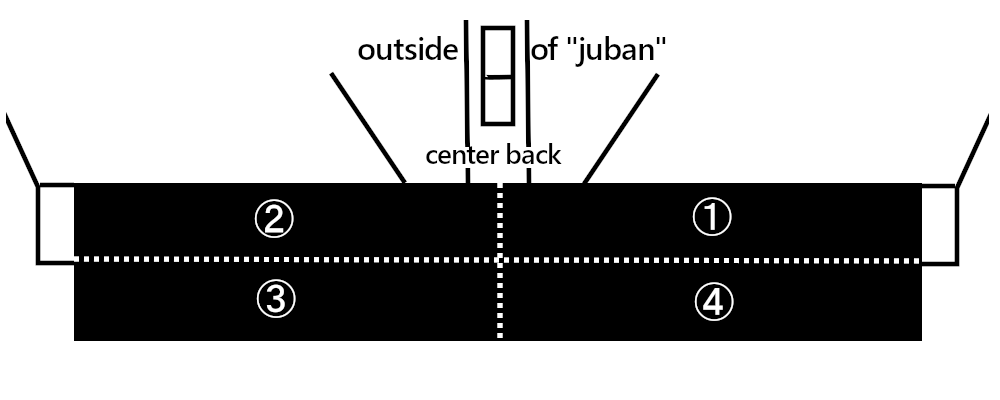
Sew haneri on the collar of juban

6. Turn the haneri over (now you are looking at the front side of haneri and juban) . Match the center line of haneri to the center back. Place the folded line along the neckline and pin again. The collar will bend outwards when wearing, so you make haneri slacken a little between the center and the red star.
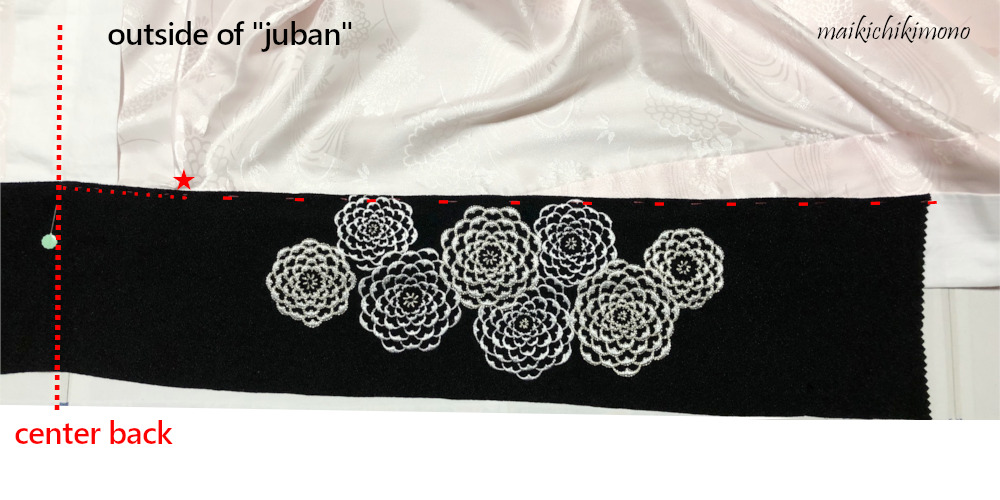 7. Sew haneri along the neck line. Finely stitch it from the center back to the red star, and the other part is sewn roughly.
If you take a lot of seam allowance, erishin collar stiffener will not enter. Check the size of your erishin.
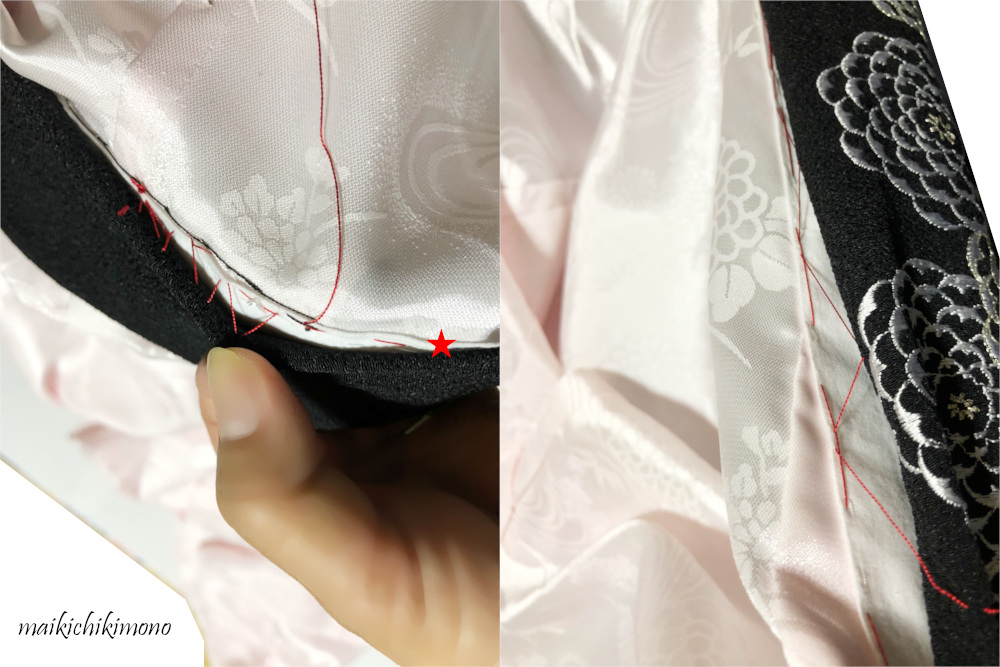
8. Sew the other side of haneri. This is the view after sewing.
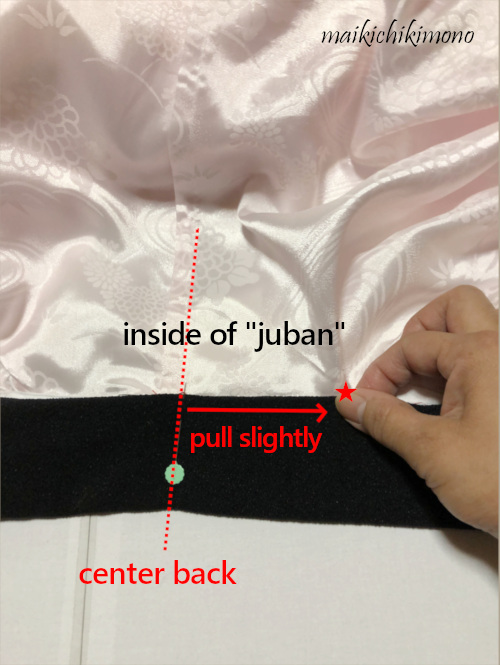
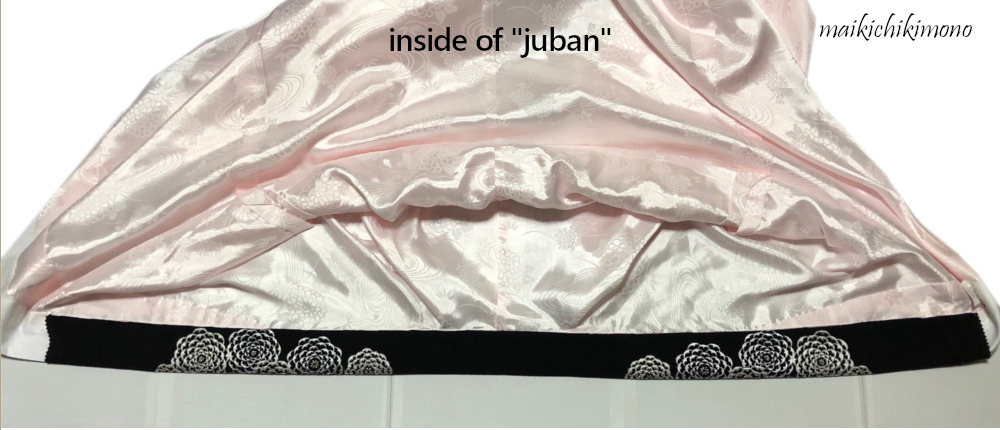
9. Turn juban over. Now you are looking at the back side (inside of juban). Fold firmly haneri along the neckline and pin it. Pull slightly between the center back and the red star because the collar will bend inside.
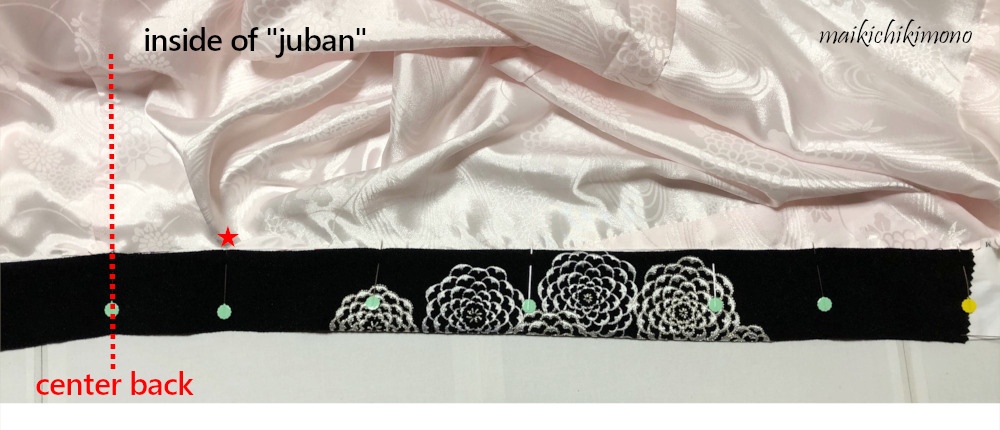
10. Pin the haneri and stitch hiding the stiches.
11. Part of the curved neckline should be stitched finely (between the center and the red star) . The other part should be sewn roughly.
12. Do the same thing for the opposite side. Then finished!
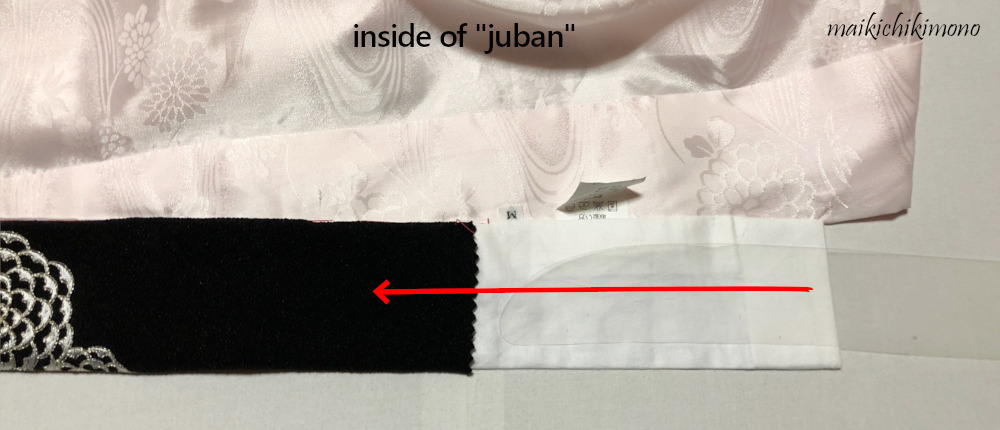
13. Insert erishin collar stiffener between haneri and the collar of juban.
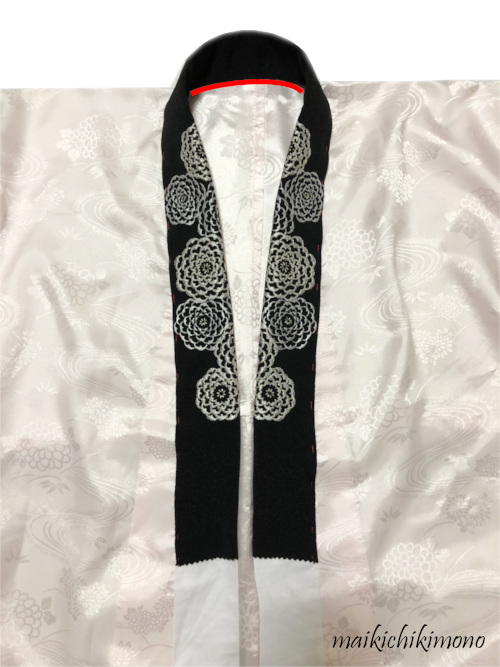
14. The red line can be seen, so please check the following.
- Can you see the seam? → The seam shouldn’t be seen, but It is acceptable if the seam is not noticeable.
- Are there too many wrinkles? → Try again, but a few wrinkles are okay.
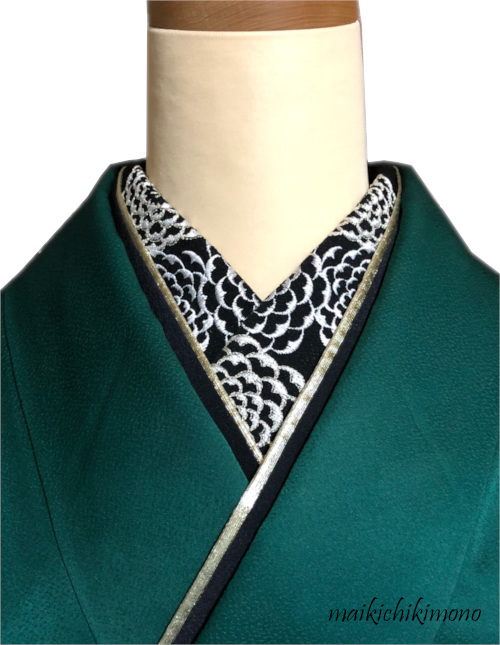
15. Dressed up image.
The degree of slackening and pulling changes depending on the fabric.
It is easy and stress-free to sew a bias-cutting haneri.
Now, let’s go to the next stage, How to put on nagajunan!